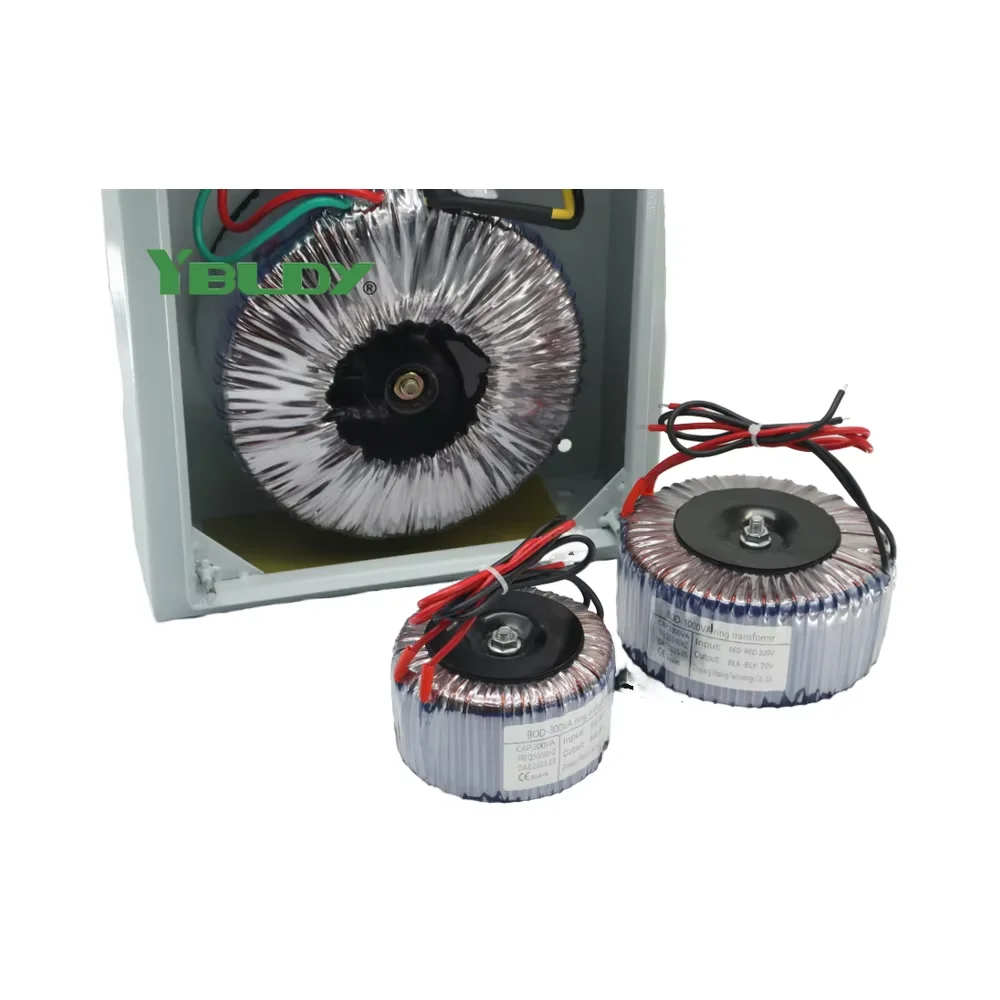
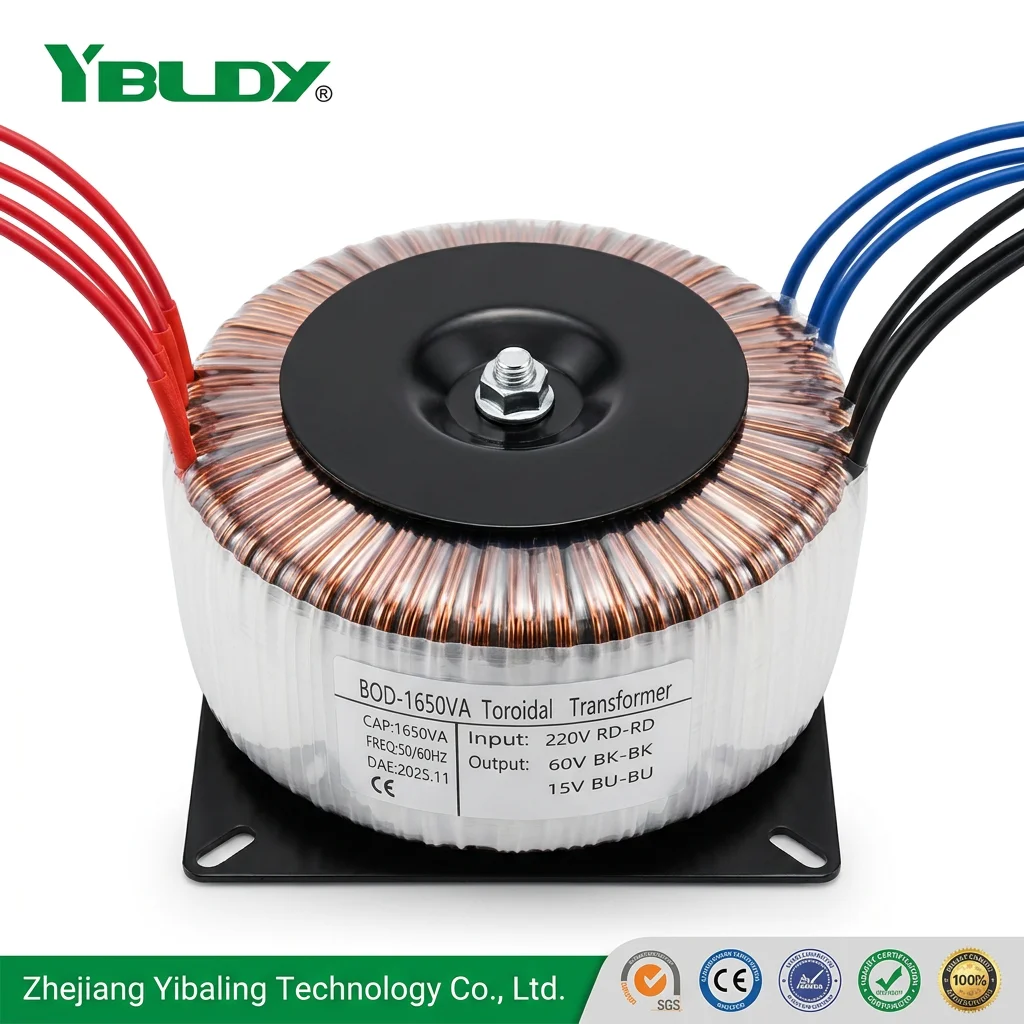
If you’re building or upgrading a high-fidelity audio amplifier, powering a precision servo system, or designing a low-noise lab bench supply — a 400VA toroidal transformer is often the pragmatic sweet spot. Over the past year, demand for this specific rating has risen noticeably among DIY audio builders and industrial control integrators — not because of marketing hype, but because component availability, price stability, and standardized mounting (Ø130 mm × 55–60 mm) have converged to make it a repeatable, reliable choice. If you’re a typical user, you don’t need to overthink this: start with a dual-secondary, 230V-in, 2×24V-out or 2×36V-out model — shielded, mylar-wrapped, and rated for continuous duty at 400VA. Skip custom-wound variants unless your load requires nonstandard voltages (e.g., ±15V + 5V logic taps), and avoid unshielded units if your application sits near analog circuitry or sensitive ADCs. This piece isn’t for keyword collectors. It’s for people who will actually use the product.
About 400VA Toroidal Transformers
A 400VA toroidal transformer is a ring-shaped, iron-core power transformer designed to deliver up to 400 volt-amperes of AC power under continuous load. Unlike laminated E-I core transformers, its wound copper coil wraps evenly around a continuous toroidal (doughnut-shaped) magnetic core — resulting in tighter magnetic coupling, lower leakage flux, and inherently lower mechanical hum. The “400VA” rating reflects apparent power capacity, not wattage: it assumes a typical power factor of 0.8–0.95 in real-world audio or control applications. It is not an isolation-only device by default — though many models include electrostatic shielding or offer isolated secondaries as an option.
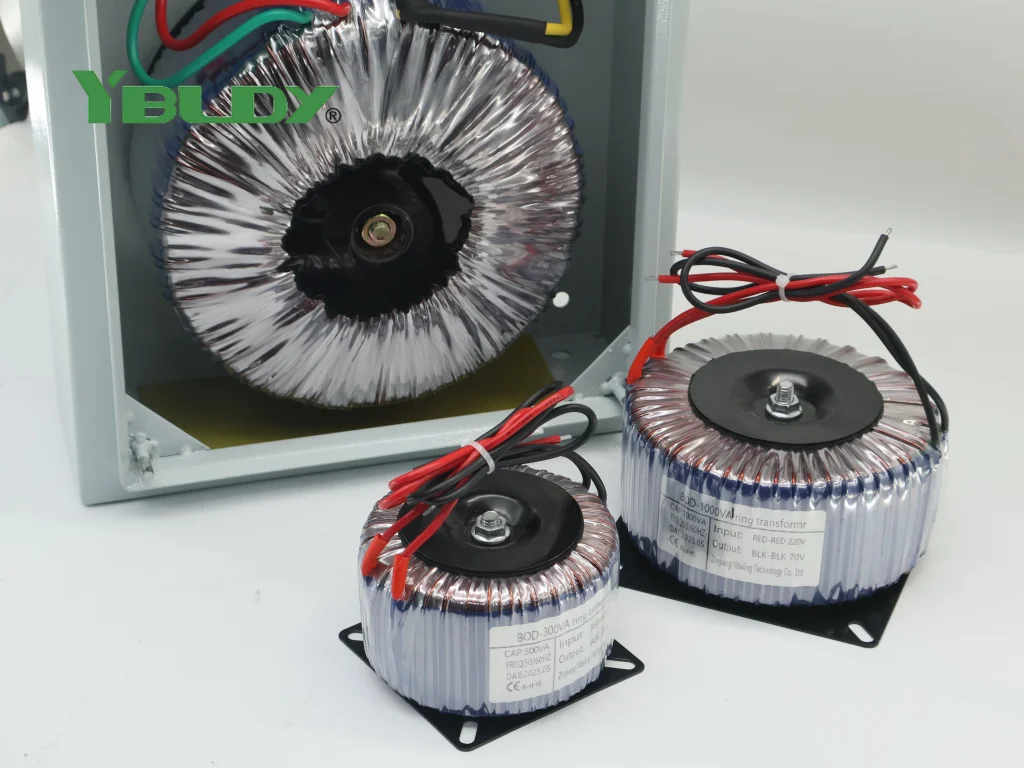
Common use cases include:
- High-end audio amplifiers — especially Class AB or tube designs needing clean ±35V rails (e.g., 2×42V CT for dual mono);
- Servo & stepper motor drives — where stable, low-ripple DC bus voltage matters more than absolute regulation;
- Bench power supplies & lab gear — where low electromagnetic interference (EMI) prevents signal corruption;
- Industrial control panels — feeding 24V PLC inputs or relay coils without inducing noise into sensor lines.
It is not intended for utility-scale distribution (that’s kVA territory), nor for medical-grade isolation without explicit certification (e.g., IEC 60601-1). If you’re a typical user, you don’t need to overthink this: 400VA hits the functional ceiling for most single-chassis pro-audio builds and mid-tier automation systems — large enough to avoid thermal throttling, small enough to fit standard enclosures.
Why 400VA Toroidal Transformers Are Gaining Popularity
Lately, three converging signals explain the uptick in 400VA adoption: First, global supply chains have stabilized for common toroid sizes — meaning lead times for Ø130 mm cores dropped from 12+ weeks to 2–4 weeks across EU/US distributors. Second, pricing has flattened: entry-level units now sit between $65–$95 (e.g., Delixi JBK-400VA, Antek AS-4438), while audiophile-grade shielded versions range $135–$210 (e.g., Eltim TTSA0400, Talema 58-0400-024-s). Third, design communities (like DIYAudio and EEVblog forums) increasingly treat 400VA as a de facto reference point — simplifying schematic sharing and BOM standardization.
This isn’t about ‘better’ — it’s about better documented, better supported, and better matched to common load profiles. Users aren’t chasing marginal efficiency gains; they’re avoiding thermal derating, minimizing layout complexity, and reducing trial-and-error. When it’s worth caring about: if your amplifier draws >250W RMS or your servo drive runs >10A peak, 400VA gives headroom without oversized bulk. When you don’t need to overthink it: for headphone amps, preamps, or microcontroller-based controllers drawing <50W, a 100–200VA unit suffices — stepping up to 400VA adds weight and cost with negligible benefit.
Approaches and Differences
Three main approaches dominate the 400VA space — each with distinct trade-offs:
- Standard dual-secondary toroids (e.g., 230V in / 2×24V out): Most common. Offers flexibility for full-wave rectification and dual-rail supplies. Pros: wide availability, low cost ($65–$120), easy heatsinking. Cons: no inherent isolation between secondaries unless specified; minimal EMI shielding.
- Electrostatically shielded toroids (e.g., Eltim TTSA0400, Hammond CT250A): Include a grounded copper or aluminum foil layer between primary and secondary windings. Pros: cuts capacitive coupling noise by 20–30 dB — critical for phono stages or low-level instrumentation. Cons: +15–25% premium; slightly higher no-load loss.
- Custom-tapped or multi-winding toroids (e.g., Antek AS-4438 with 38V CT, or Orion dimmable 12V/400W): Built for specific voltage or regulation needs. Pros: eliminates external regulators or extra transformers. Cons: longer lead times; no returns on custom orders; limited vendor support.
If you’re a typical user, you don’t need to overthink this: start with a shielded dual-secondary — it covers 85% of audio and control use cases without over-engineering.
Key Features and Specifications to Evaluate
Don’t optimize for specs you won’t measure. Focus only on what changes real-world behavior:
- Voltage regulation (±5% at full load): Critical for stable rail voltage under dynamic loads. Check datasheet graphs — not just nominal values.
- No-load current (<25 mA @ 230V): Indicates core quality and hysteresis loss. Lower = cooler idle operation.
- Temperature rise (<40°C rise at 400VA): Measured per IEC 61558. Units exceeding 45°C rise risk shortening capacitor life downstream.
- Mounting & mechanical fit: Ø130 mm is standard, but height varies (55–65 mm). Verify clearance for your chassis and bolt pattern (M4 or M5).
- Certifications: UL/cUL, CE, RoHS are baseline. Avoid uncertified imports lacking dielectric strength test reports (≥3kV isolation).
When it’s worth caring about: if your build sits in a sealed enclosure or shares space with temperature-sensitive components (e.g., precision op-amps), prioritize ≤35°C rise and verified thermal derating curves. When you don’t need to overthink it: open-frame bench testing? A 40°C rise spec is functionally identical to 38°C — airflow dominates actual performance.
Pros and Cons
Pros:
- Compact size and low weight vs. equivalent E-I transformers (≈40% smaller volume);
- Natural EMI suppression — reduces need for external filtering in analog stages;
- Higher efficiency (92–95% typical) means less wasted heat in enclosed spaces;
- Standardized form factor simplifies mechanical design and sourcing.
Cons:
- Higher inrush current (5–8× rated current) — may trip sensitive breakers or require NTC thermistors;
- More difficult to mount securely without proper center-bolt torque (risk of core fracture if overtightened);
- Limited voltage customization — off-the-shelf models rarely offer <10V or >50V secondaries;
- No built-in overload protection — relies entirely on upstream fusing.
If you need predictable thermal behavior and low acoustic signature in a fixed-volume chassis, choose a 400VA toroid. If you need variable output or frequent reconfiguration, consider modular switch-mode solutions instead.
How to Choose a 400VA Toroidal Transformer
Follow this 5-step checklist — and avoid these three common pitfalls:
- Confirm input voltage compatibility: 230V-only? 115/230V dual-primary? Don’t assume auto-switching — most toroids require manual jumpering.
- Match secondary configuration to your rectifier topology: Full-wave center-tap? Dual independent secondaries? Don’t buy 2×36V if your PCB expects a 72VCT winding.
- Verify shielding type: Electrostatic (foil) ≠ magnetic (mu-metal). Only foil shielding blocks high-frequency noise coupling.
- Check physical envelope: Height includes terminal block depth — some units exceed 65 mm with lugs attached.
- Validate safety certifications for your region: UL listing ≠ CE compliance. US projects need UL/cUL; EU needs CE + RoHS + REACH.
Avoid these:
- Assuming ‘400VA’ means ‘400W’ — resistive loads differ from reactive ones. Your 300W Class D amp may draw 380VA at 0.8 PF.
- Skipping fuse coordination — a 400VA unit at 230V draws ≈1.74A RMS. Use a slow-blow fuse rated 2–2.5A, not 3.15A.
- Buying based on ‘audio grade’ marketing — no industry standard defines this. Look for measured THD <0.5% at full load, not label claims.
Insights & Cost Analysis
Price isn’t linear with performance — but it does track measurable features. Here’s what $65–$220 actually buys you:
- $65–$95: Basic dual-secondary, no shielding, ±8% regulation, 45°C rise (e.g., Delixi JBK-400VA, Antek AS-4438). Suitable for hobbyist builds and non-critical controls.
- $120–$165: Shielded, ±5% regulation, 40°C rise, UL/cUL listed (e.g., Hammond CT250A, RS PRO 2×24V). Ideal for commercial audio gear and factory automation.
- $175–$220+: Mylar encapsulation, precision winding tension control, guaranteed THD <0.3%, optional custom taps (e.g., Eltim TTSA0400, Block STU 400/24). Justified only for recording studio mains feeds or metrology-grade supplies.
Over the past year, the $120–$165 tier gained the strongest value consensus — balancing certification, thermal headroom, and noise control without boutique premiums.
| Category | Best For | Potential Issue | Budget Range (USD) |
|---|---|---|---|
| Entry-Level Dual Secondary | Hobbyist amps, simple bench supplies | Limited shielding; higher no-load loss$65–$95 | |
| Shielded Standard | Commercial audio, PLC power, noise-sensitive labs | Slightly heavier; may require larger heatsink spacing$120–$165 | |
| Precision Audio Grade | Studio-grade preamps, measurement equipment | Longer lead times; overkill for most DIY projects$175–$220+ |
Customer Feedback Synthesis
Based on aggregated reviews (Amazon, eBay, DIYAudio, RS Components), top recurring themes:
- ✅ Frequent praise: “Silent operation even under load”, “Fits perfectly in my 4U rack”, “No hum in phono stage after swap”, “Terminal spacing matches my PCB footprint.”
- ❌ Common complaints: “Bolt torque spec missing — cracked core on first install”, “No datasheet online — had to email supplier”, “Label says 2×24V but measured 27.2V no-load”, “Shipping damaged epoxy coating.”
The strongest signal? Users consistently reward vendors who ship full technical docs (winding resistance, regulation curves, thermal images) — not just marketing PDFs.
Maintenance, Safety & Legal Considerations
Toroidal transformers require almost zero maintenance — but demand disciplined installation:
- Mounting: Always use a center bolt with flat washer and lock washer. Tighten to 1.2–1.5 N·m — overtightening fractures the core, increasing buzz and loss.
- Fusing: Install a slow-blow fuse on the primary side. Fast-blow types nuisance-trip on inrush.
- Ventilation: Allow ≥10 mm air gap on all sides. Enclosed mounting without forced airflow risks >50°C surface temps.
- Legal: In the EU, CE marking requires adherence to EN 61558-2-2. In North America, UL 506 or CSA C22.2 No. 66 applies. Never substitute uncertified units in commercially sold equipment.
Conclusion
A 400VA toroidal transformer isn’t a luxury upgrade — it’s a deliberate engineering choice for applications where size, noise, and thermal predictability matter. If you need clean, compact, and repeatable AC power for audio, motion control, or instrumentation — and your load falls between 200–380VA continuous — a well-specified 400VA toroid delivers tangible benefits without complexity. If you’re a typical user, you don’t need to overthink this: go for a UL/cUL-listed, electrostatically shielded, dual-secondary model with ≤40°C rise and Ø130 mm footprint. Skip custom windings unless your schematic demands them — and always verify physical fit before soldering.
FAQs