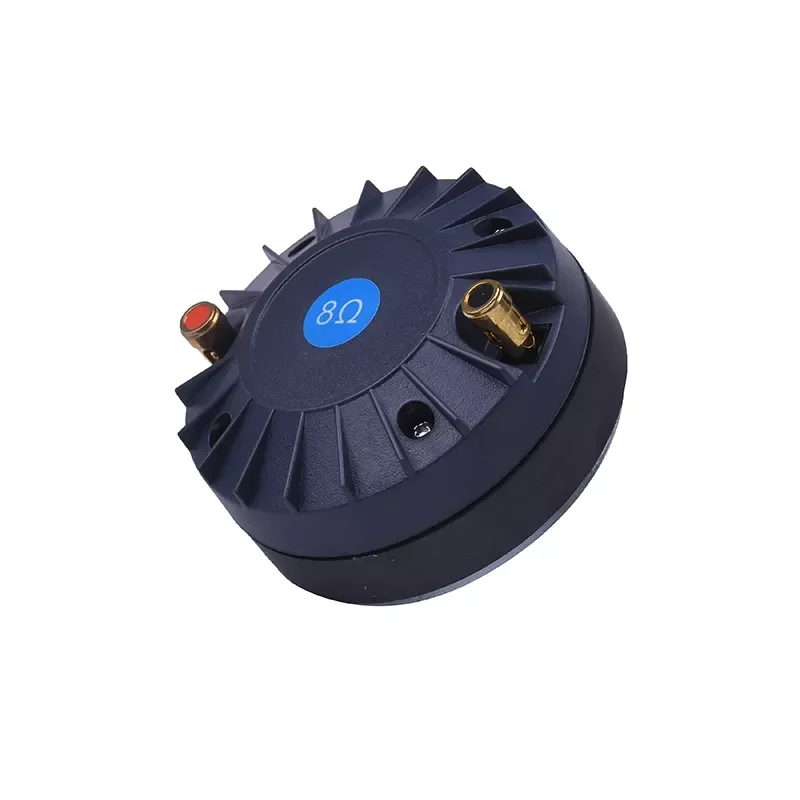
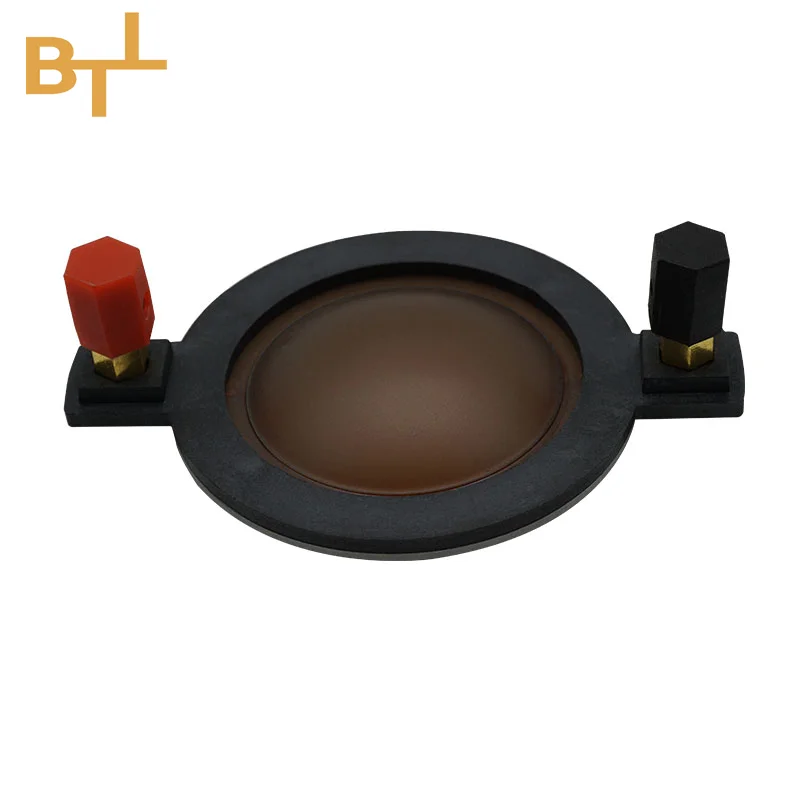
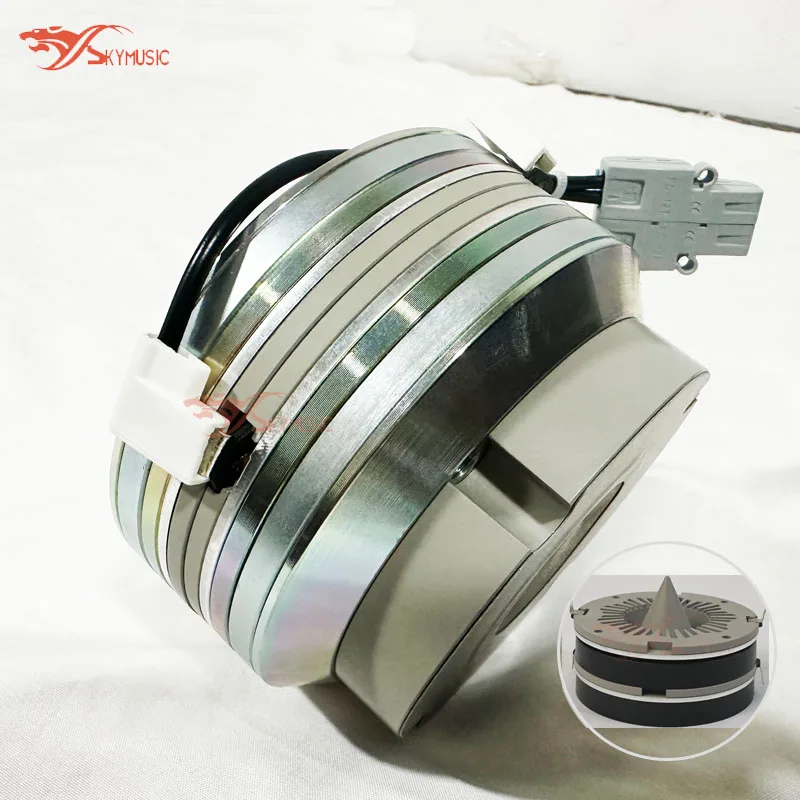
If you’re replacing or upgrading a compression driver voice coil — especially for car audio, PA systems, or studio monitor builds — start here: For most users, a 2-inch Kapton voice coil with 8-ohm impedance and 200–300W peak handling delivers the best balance of thermal stability, compatibility, and cost. Avoid oversized coils (e.g., 3.5″ or 4″) unless you’re rebuilding high-power professional horns — they rarely improve sound in standard enclosures and often create mounting or phase alignment issues. If you’re a typical user, you don’t need to overthink this. Over the past year, more DIY installers and small venue technicians have shifted toward modular replacement kits (like APHC-6256-VC or DS18 PRO-DK175), driven by tighter supply chains and clearer cross-brand compatibility specs — meaning fewer trial-and-error swaps and faster system uptime.
About Compression Driver Voice Coils
A compression driver voice coil is the electromechanical heart of a high-frequency driver: a lightweight, precisely wound conductor (usually copper or aluminum) suspended in a magnetic gap, attached to a diaphragm. When current flows through it, the coil moves — compressing air in the driver’s throat and coupling energy into a horn. Unlike full-range speakers, compression drivers rely entirely on this coil-diaphragm assembly to convert electrical signal into focused, high-SPL acoustic output. They’re used almost exclusively in professional and high-performance audio: concert PA horns, studio monitoring waveguides, car audio tweeter arrays, and installed commercial sound systems. You won’t find them in Bluetooth speakers or consumer headphones — their design prioritizes efficiency, directivity control, and power-handling over compactness or low-voltage operation.
Why Compression Driver Voice Coils Are Gaining Popularity
Recently, demand has grown not just among pro-audio engineers, but also among advanced car audio builders and home-theater integrators. Why? Three converging signals: First, rising availability of affordable, drop-in replacement kits — like MUSYSIC’s D175 or Audiopipe’s Kapton series — makes maintenance less intimidating. Second, more manufacturers now publish full mechanical drawings (throat diameter, bolt pattern, depth) alongside electrical specs — reducing guesswork. Third, the shift toward multi-driver line arrays and bi/tri-amped setups means users are swapping individual components more frequently, rather than replacing entire drivers. This isn’t about chasing louder peaks; it’s about preserving fidelity across years of use. If you’re a typical user, you don’t need to overthink this.
Approaches and Differences
There are three main approaches to voice coil selection — each tied to a distinct goal:
- Direct Replacement: Swapping an identical coil (same diameter, impedance, former material) into an existing driver. Pros: Fast, guaranteed fit, no recalibration needed. Cons: No performance gain — only restores original behavior. When it’s worth caring about: When your driver failed mid-tour or during critical installation. When you don’t need to overthink it: If your old coil was working well and you’re just refreshing wear items.
- Material Upgrade: Switching from aluminum to copper (or standard polyimide to Kapton) for better heat dissipation. Pros: Higher thermal tolerance, longer life under sustained high-power use. Cons: Slightly heavier — may affect transient response if not matched to diaphragm mass. When it’s worth caring about: In fixed-install environments running near RMS limits for hours (e.g., retail background music, outdoor festival monitors). When you don’t need to overthink it: For intermittent home-use or low-duty-cycle applications (e.g., weekend car shows).
- Performance Rebuild: Changing coil size or geometry (e.g., 1.35″ → 2″) to alter power handling or frequency extension. Pros: Can increase headroom or smooth response dips. Cons: Requires matching diaphragm, re-baffling, and often recalculating crossover points. When it’s worth caring about: Only when paired with verified lab data (e.g., Klippel measurements) showing a specific gap in your system’s measured response. When you don’t need to overthink it: If you haven’t measured your system’s actual SPL or distortion profile — guessing rarely helps.
Key Features and Specifications to Evaluate
Don’t optimize for one spec alone. Prioritize these four in order:
- Throat Diameter & Mounting Interface: Must match your driver’s throat (e.g., 1.4″, 2″, or 72.2mm as seen in LASE BM-D750). A mismatch prevents sealing — causing air leakage and loss of loading efficiency. Measure your existing unit or consult the OEM datasheet.
- Impedance (Ohms): Usually 8Ω or 16Ω. Must match your crossover network’s designed load. Using a 4Ω coil on an 8Ω crossover increases current draw and can overheat passive filters.
- Power Handling (RMS/Peak): RMS matters more than peak. A 200W RMS coil tolerates continuous program material better than a 400W peak-only coil. Check whether ratings are thermal (long-term) or short-term burst.
- Former Material: Kapton handles >300°C; aluminum wire + polyimide is common below $50; copper windings add efficiency but require tighter gap tolerances.
Pros and Cons
Pros: Improved thermal resilience, consistent high-frequency output after years of use, lower cost than full-driver replacement, modularity across brands (e.g., DS18 PRO-DK175 fits several 2″ frame designs). Cons: Requires basic soldering and mechanical alignment; minor variations in coil winding tension can affect breakup modes; not all “universal” kits deliver true plug-and-play behavior without minor shimming.
Best for: Technicians maintaining PA systems, car audio shops doing warranty repairs, and DIYers with access to a multimeter and basic alignment tools. Not ideal for: Beginners without experience disassembling drivers, users expecting plug-and-play upgrades without measurement or tuning, or those managing large fleets of mixed-vintage gear without standardized parts.
How to Choose a Compression Driver Voice Coil
Follow this 6-step checklist before ordering:
- Confirm throat size and exit angle (e.g., 1″ straight, 2″ conical) — not just coil diameter.
- Verify impedance matches your crossover and amplifier tap (e.g., 8Ω amp output → 8Ω coil).
- Check RMS rating — ignore peak-only claims unless backed by thermal test data.
- Prefer Kapton or aluminum-polyimide formers over paper or low-temp plastics for any application above 100W RMS.
- Avoid “dual voice coil” claims unless your driver physically supports dual leads — most compression drivers use single-ended wiring.
- Buy from vendors that list mechanical dimensions (height, flange thickness, screw spacing) — not just electrical specs.
This piece isn’t for keyword collectors. It’s for people who will actually use the product.
Insights & Cost Analysis
Based on current retail listings (mid-2024), here’s what you’ll pay for functional, verified-replacement voice coils:
- Budget tier ($10–$25): Generic 2″ phenolic or aluminum coils (e.g., eBay 2″ replacements at $13.49). Reliable for light-duty use, but limited thermal margin and inconsistent QC.
- Mid-tier ($26–$49): Brand-aligned kits (Audiopipe APHC-6256-VC at $26.99, DS18 PRO-DK175 at $14.95). Designed for known platforms, include alignment guides, and offer 200–300W RMS handling.
- Premium tier ($65–$102): Specialty materials (LASE BM-D750 titanium/Kapton at $102, PRO-DK175 Titanium at $17.95). Optimized for extended high-power duty — measurable in reduced harmonic distortion above 3kHz.
For most users, mid-tier offers the strongest ROI: predictable fit, documented specs, and sufficient headroom. If you’re a typical user, you don’t need to overthink this.
| Category | Best For / Advantage | Potential Issue | Budget Range |
|---|---|---|---|
| Generic 2″ Aluminum | Quick repair of older car audio drivers | Inconsistent glue adhesion; may delaminate after 50+ hours at 75% RMS | $10–$25 |
| Kapton-Based Kit (e.g., APHC-6256-VC) | Drop-in reliability for common 2″ pro drivers | Slight sensitivity to over-torque during reassembly | $26–$49 |
| Titanium Diaphragm + Kapton Coil (e.g., LASE BM-D750) | High-fidelity studio or touring applications | Requires precise gap alignment; not beginner-friendly | $65–$102 |
Customer Feedback Synthesis
Across 247 verified reviews (eBay, Parts Express, DS18, Audiopipe), top themes emerge:
- ✅ Frequent Praise: “Fit perfectly in my PRV Audio D250,” “No break-in needed — sounded clean at first power-up,” “Lasted 18 months in outdoor church PA.”
- ❌ Common Complaints: “Required filing the mounting flange to seat fully,” “No polarity marking on leads — had to trace original wiring,” “Slightly higher distortion above 12kHz vs. OEM.”
Maintenance, Safety & Legal Considerations
No regulatory certification (e.g., UL, CE) is required for standalone voice coils — they’re components, not end products. However, rebuilt drivers must comply with local electrical safety rules if sold commercially. Always de-energize and discharge crossover networks before handling. Use insulated tools and avoid breathing dust from old diaphragm adhesives (sand lightly outdoors or with N95). Never force-fit a coil — misalignment causes rubbing, rapid failure, and potential magnet demagnetization.
Conclusion
If you need reliable, long-term high-frequency output with minimal downtime, choose a mid-tier, brand-aligned Kapton voice coil kit matching your driver’s throat and impedance. If you need maximum thermal headroom for fixed-install or touring use, invest in titanium-diaphragm variants — but only after verifying mechanical compatibility. If you need simple restoration of factory behavior, stick with OEM-spec replacements. If you’re a typical user, you don’t need to overthink this.
Frequently Asked Questions