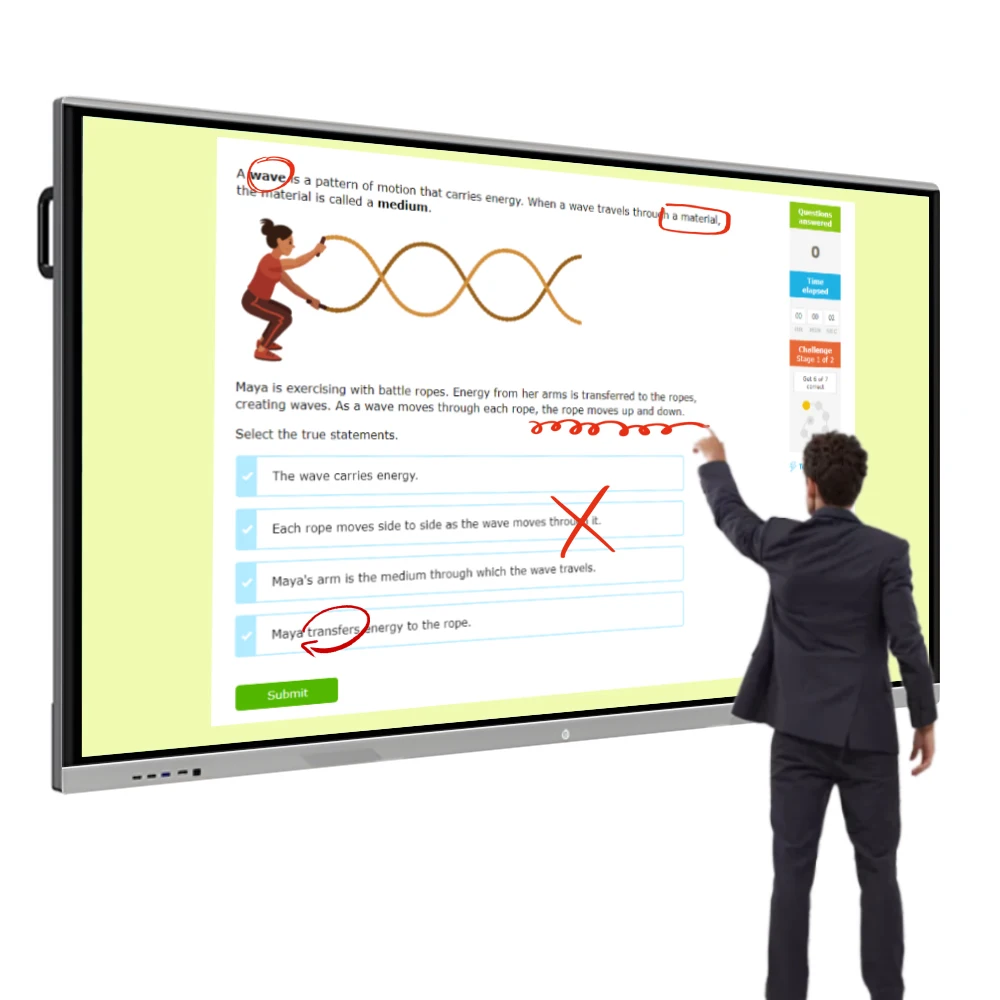
Recently, more educators and hybrid meeting facilitators have shifted from basic projectors + passive whiteboards to interactive laser pointer whiteboards—not because they’re flashy, but because they solve two persistent problems at once: precise on-screen annotation without touching the display, and real-time collaboration across physical and remote participants. If you’re a typical user—teaching in a K–12 classroom, leading corporate workshops, or managing hybrid team reviews—you don’t need to overthink this: start with a plug-and-play infrared (IR) laser sensor system paired with a standard projector or flat panel. All-in-one displays remain a viable option for rooms lacking wall space or requiring built-in Android OS for offline use. Stylus-based systems continue to serve users who prefer tactile input during dynamic presentations. This piece isn’t for keyword collectors. It’s for people who will actually use the product.
About Interactive Laser Pointer Whiteboards
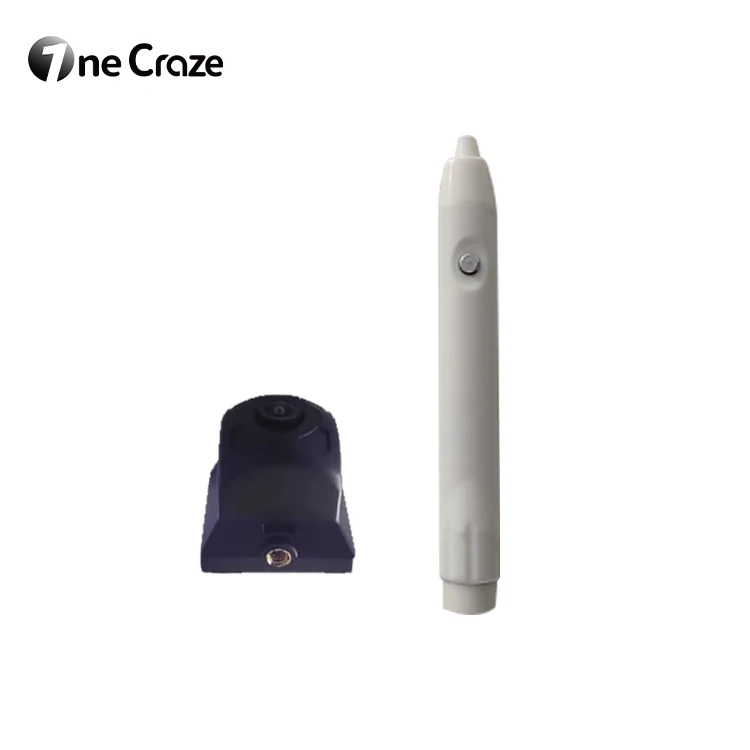
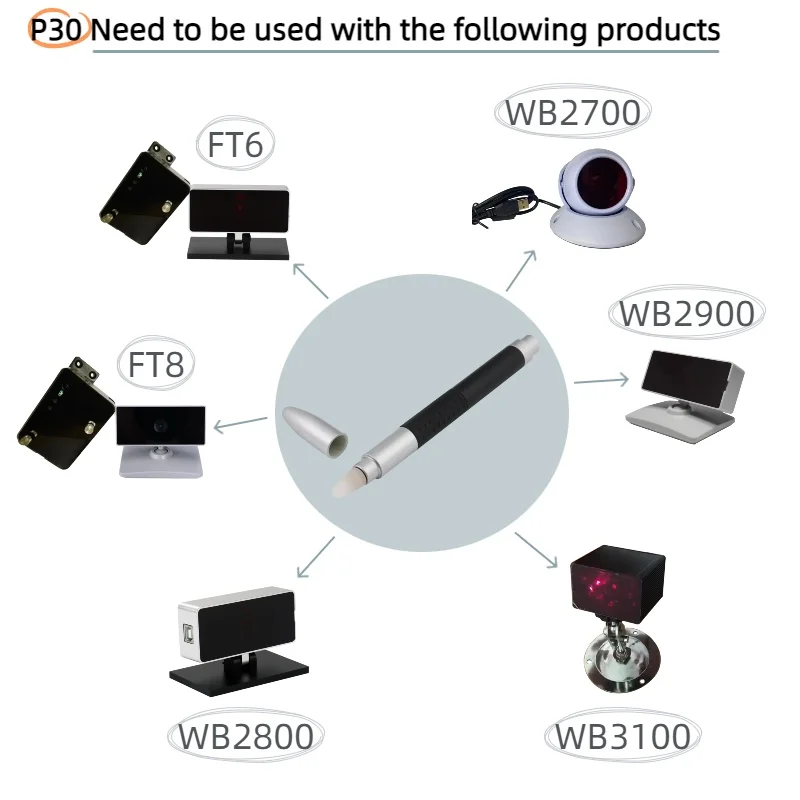
An interactive laser pointer whiteboard is a setup—not a single device—that turns any large surface (whiteboard, projection screen, or even a blank wall) into a responsive, touch-capable interface using laser-based tracking. At its core, it combines three components: (1) a low-power Class 2 or Class 3R laser emitter (usually embedded in a handheld pointer), (2) an IR sensor bar mounted above or below the display surface, and (3) software that interprets laser position, movement, and gesture inputs (e.g., click, drag, spotlight). Unlike capacitive or resistive touchscreens, it doesn’t require physical contact—and unlike basic laser pointers, it enables annotation, cursor control, and application interaction.
Typical use cases include:
- ✅ K–12 classrooms: Teachers annotate lesson slides while moving freely around the room—no need to stand at the front or tethered to a laptop.
- ✅ Corporate training rooms: Facilitators highlight data trends on live dashboards or navigate complex flowcharts without switching devices.
- ✅ Hybrid meeting spaces: Remote attendees see real-time pointer movement and annotations synced via screen-sharing tools like Zoom or Teams.
If you’re a typical user, you don’t need to overthink this: focus on compatibility with your existing display and software stack—not on raw resolution or embedded OS features.
Why Interactive Laser Pointer Whiteboards Are Gaining Popularity
Lately, adoption has accelerated—not due to novelty, but because of converging practical shifts. First, schools and enterprises have standardized on Windows/macOS laptops and cloud-based presentation tools (Google Slides, PowerPoint Online, Miro), reducing reliance on proprietary hardware ecosystems. Second, budget constraints have made retrofitting existing projectors or LED walls far more cost-effective than replacing entire displays. Third, pandemic-era habits persist: teachers and trainers now expect seamless mobility, multi-device support, and zero-touch interaction for hygiene and flexibility.
This isn’t about “smart” as a buzzword. It’s about reducing friction between intent and action: pointing at a graph and instantly circling a datapoint, dragging a timeline marker without lifting your hand, or freezing a frame and typing a comment—all while maintaining eye contact with students or colleagues. When it’s worth caring about: if your current workflow involves walking back to a laptop to advance slides or using clunky USB dongles that lose connection mid-session. When you don’t need to overthink it: if you only annotate static PDFs once per week and already own a reliable tablet stylus.
Approaches and Differences
Three main approaches dominate the market—each with distinct trade-offs:
- ⚙️ Infrared (IR) Sensor Bar + Laser Pointer
Most common. Uses dual IR cameras to triangulate laser dot position. Works with any smooth, non-reflective surface. Requires calibration (1–2 minutes). Compatible with Windows/macOS/Linux. Example: BenQ RP03, EIBOARD OEM kits.
When it’s worth caring about: You need cross-platform reliability and plan to use multiple devices (laptops, Chromebooks).
When you don’t need to overthink it: Your room lighting is stable and walls are matte-painted—no special ambient light filters needed. - ⚡ Camera-Based Tracking (USB Webcam + Software)
Lower-cost alternative. Uses standard webcams and computer vision algorithms. Limited by field-of-view and lighting sensitivity. Often bundled with free software (e.g., OpenBoard, Smoothboard).
When it’s worth caring about: You’re prototyping or running temporary setups with tight budgets.
When you don’t need to overthink it: You won’t use it daily—occasional demo use is fine; accuracy drift after 20 minutes is acceptable. - 🌐 All-in-One Interactive Displays with Integrated Laser
Self-contained units (e.g., Epson BrightLink, Ikinor 65″ Android whiteboards). Include built-in projector, IR sensors, and OS. Plug-and-play out of the box.
When it’s worth caring about: You lack wall space for mounting, need offline functionality, or manage tech-limited staff.
When you don’t need to overthink it: You already own a high-brightness projector or 4K flat panel—adding another display is redundant.
Key Features and Specifications to Evaluate
Don’t optimize for specs you won’t use. Prioritize these four dimensions—ranked by real-world impact:
- Tracking Latency & Accuracy: Look for ≤80ms response time and ±2mm positional error at 10ft distance. Measured under normal room lighting—not lab conditions. If you’re a typical user, you don’t need sub-millimeter precision; consistent line drawing and tap registration matter more.
- Software Compatibility: Confirm native drivers for your OS (Windows 10/11, macOS 12+, ChromeOS). Check whether annotation layers export cleanly to PDF/PNG—and whether third-party apps (Miro, Notion, Zoom) recognize the pointer as a standard HID device.
- Laser Pointer Ergonomics: Battery life (≥12 hrs), button layout (dedicated left/right click + spotlight toggle), and weight (<80g). Models with simplified pairing workflows enhance usability.
- Calibration Simplicity: One-touch auto-calibration beats 9-point manual grids. If your team changes rooms weekly, skip systems needing recalibration after minor sensor bumps.
Ignore: advertised “4K touch resolution” (irrelevant for laser-based input), proprietary cloud accounts, or “AI gesture recognition” with no documented use cases.
Pros and Cons
✅ Pros: Low upfront cost vs. full interactive displays; works with existing infrastructure; supports standing/moving instruction; minimal IT overhead; scalable across multiple rooms.
❌ Considerations: Requires unobstructed line-of-sight between laser and sensor; performance may vary near windows or under flickering fluorescent lights; optimized for matte, non-reflective surfaces; palm rejection differs from capacitive screens.
Best suited for: Educators who move while teaching, hybrid meeting hosts managing live demos, technical trainers annotating code or schematics.
Well-suited for: Users seeking flexible, portable annotation solutions compatible with diverse devices and environments.
How to Choose an Interactive Laser Pointer Whiteboard
Follow this 5-step decision checklist—designed to eliminate common false dilemmas:
- 🔍 Map your primary input surface: Measure width/height and note material (dry-erase laminate? painted wall? projection fabric?). Laser systems perform best on flat, matte, non-reflective surfaces.
- 🔌 Verify OS and software stack: List your top 3 presentation/collaboration tools. Cross-check vendor compatibility docs—not marketing claims.
- ⏱️ Time your calibration & setup: Watch unboxing videos of top candidates. If auto-calibration takes >90 seconds or fails on first try >30% of the time, eliminate it.
- 🚫 Avoid these traps: (1) “Universal” kits claiming compatibility with all projectors—many fail with short-throw or ultra-short-throw optics; (2) laser pointers sold separately without sensor bar bundles—these rarely work standalone; (3) systems requiring annual cloud subscriptions for basic annotation.
- 🧪 Test before scaling: Pilot one unit in your most challenging room (e.g., sunniest or largest). Track uptime, recalibration frequency, and user-reported lag over 2 weeks—not just day-one impressions.
If you’re a typical user, you don’t need to overthink this: prioritize plug-and-play stability over feature count.
Insights & Cost Analysis
Based on verified retail and B2B pricing (Q2 2024), here’s what you’ll realistically spend:
- Entry-tier IR kits (sensor bar + laser pointer + basic software): $299–$449 (e.g., Quartet Four-Function bundle, Owayboard Laser Vision)
✔ Includes Windows/macOS drivers
✘ No Android/iOS app; limited annotation toolbar - Mid-tier education-focused kits (e.g., BenQ RP03, EIBOARD OEM): $699–$1,199
✔ Classroom management features, LMS integration, multi-user annotation
✘ Requires dedicated mounting hardware - All-in-one displays (65″, Android-based, built-in laser): $769–$1,250 (e.g., Ikinor, Made-in-China OEM units)
✔ No external projector needed; offline mode supported
✘ Higher power draw; bulkier installation
For most schools and SMBs, the $400–$700 range delivers optimal balance: enough reliability for daily use, without over-engineering for edge cases. Budget isn’t the bottleneck—it’s deployment consistency.
Better Solutions & Competitor Analysis
| Category | Suitable For | Key Characteristics | Budget Range (USD) |
|---|---|---|---|
| IR Sensor Bar + Laser Kit | Existing projector/LED wall users; multi-OS environments | High mobility; flexible deployment; requires clear line-of-sight | $299–$449 |
| Camera-Based DIY Setup | Temporary labs; low-budget pilots | Cost-effective entry point; open-source software options available | $0–$120 (webcam + open-source SW) |
| All-in-One Laser Whiteboard | New room builds; tech-limited staff; offline needs | Integrated design; self-contained operation; simplified setup | $769–$1,250 |
| Standard Touchscreen Display | Small-group collaboration; finger-first interaction | Direct touch interface; fixed-position interaction | $1,099–$2,500+ |
Note: “Better” depends on context—not specs. A $300 IR kit offers strong value for mobility and cross-device agility. Conversely, the all-in-one provides advantages where wall space is constrained and staff prefer streamlined operation.
Customer Feedback Synthesis
Aggregating verified reviews (Amazon, Parrot Products, and education forums), recurring themes emerge:
- ⭐ Top praise: “No more walking back to the laptop,” “Students follow my pointer naturally—it feels like teaching, not tech,” “Setup took 8 minutes; calibration held for 3 weeks.”
- ❗ Common observations: “Sunlight affects visibility of the laser dot,” “Spotlight mode performance varies depending on screen-sharing configuration,” “Battery life expectations align with stated specifications when using alkaline batteries.”
The strongest signal? Users value predictability over polish. A system that works 98% of the time with zero configuration beats one with richer features but 15% daily failure rate.
Maintenance, Safety & Legal Considerations
Maintenance: Wipe sensor bar lenses monthly with microfiber cloth; replace laser pointer batteries every 3–4 months with alkaline (not rechargeable—voltage drop causes drift). Recalibrate after moving furniture or changing projector alignment.
Safety: All consumer-grade units use Class 2 or Class 3R lasers (≤5mW output). These are eye-safe for accidental exposure <100ms—but never point directly at faces. Certified products meet international safety standards 1.
Legal: In the EU, CE marking confirms compliance with EN 60825-1 (laser safety). In the US, FDA regulates Class IIIa+ devices—ensure your model carries 21 CFR 1040.10 certification 2. No jurisdiction requires special licensing for classroom or office use.
Conclusion
If you need mobile, cross-platform annotation on existing displays, choose an IR sensor bar + laser pointer kit with proven Windows/macOS drivers and one-touch calibration. If you need zero-setup reliability in a new room with no projector, an all-in-one Android whiteboard makes sense—especially with built-in hotspot and offline apps. If you only annotate occasionally and already own a tablet, skip dedicated hardware entirely. If you’re a typical user, you don’t need to overthink this: reliability, compatibility, and ergonomic comfort outweigh novelty every time.
Frequently Asked Questions