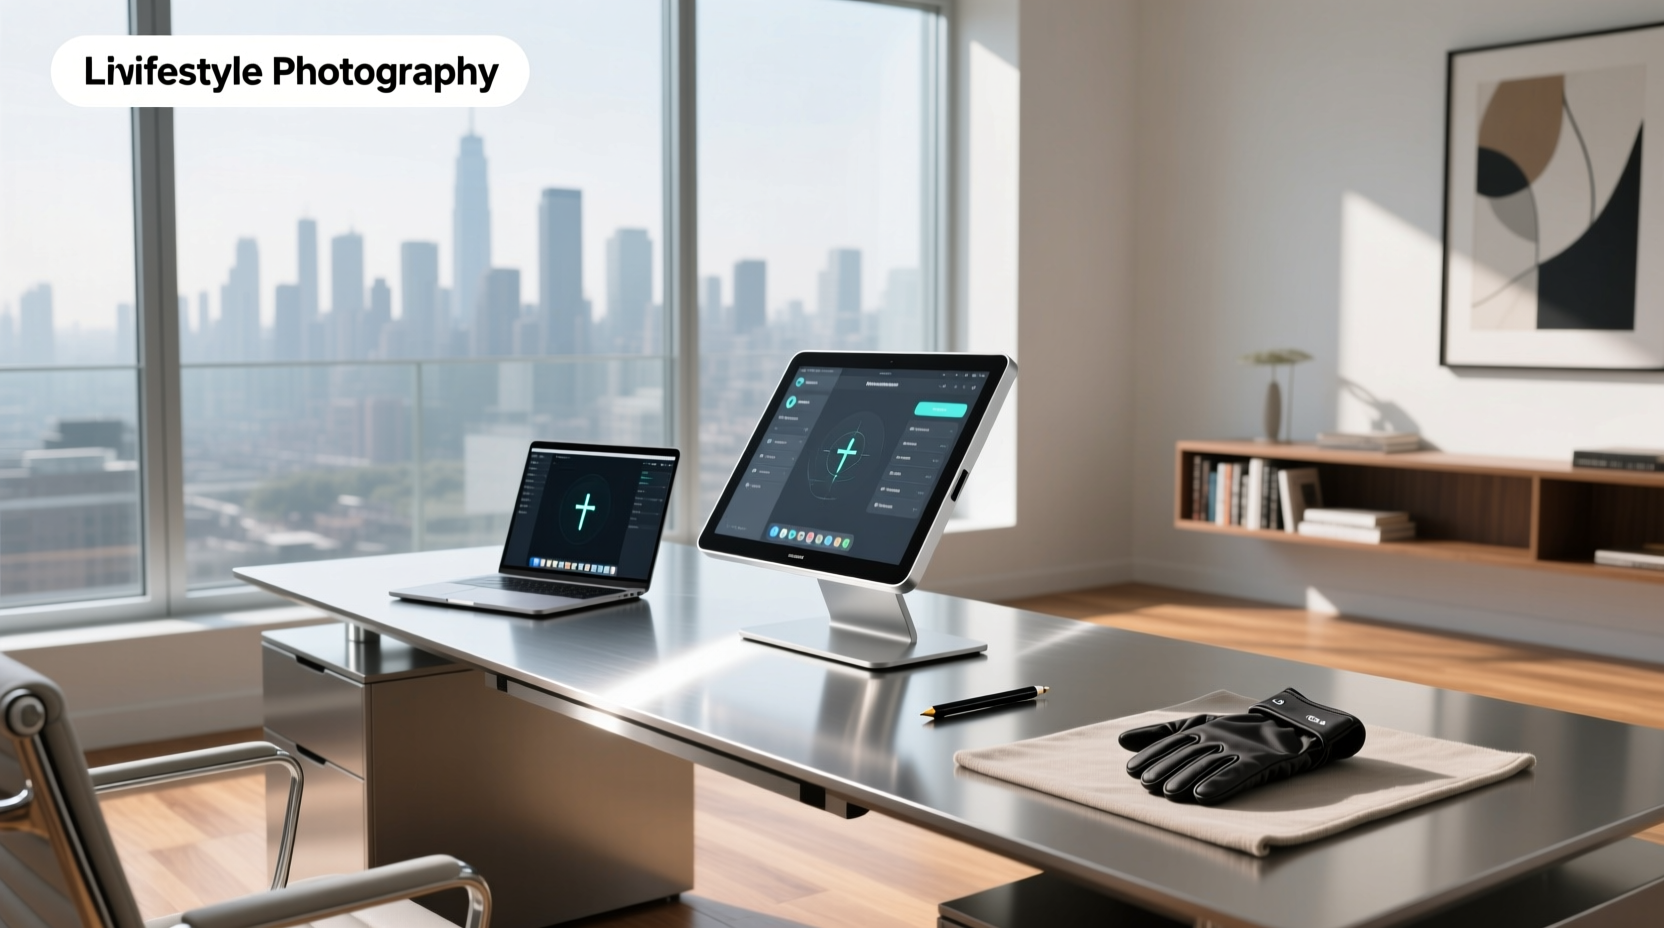
Over the past year, infrared (IR) touch screen conversion frames have become the dominant retrofit solution for turning standard large-format displays—from 32-inch monitors to 98-inch digital signage—into multi-touch interactive surfaces 1. If you’re a typical user looking to upgrade a TV, kiosk, or classroom whiteboard without replacing the entire display, an IR frame is almost always your most practical, cost-effective, and glove-compatible choice. You don’t need driver installation for most modern kits (HID-compliant USB), and 10–20 touch points are now standard—not premium. Skip capacitive overlays unless you’re retrofitting a tablet-sized screen under 24 inches. And ignore “bezel-free” marketing claims: IR frames require physical bezels by design—they’re not flaws; they’re functional necessities.
✅ Quick decision rule: For any display ≥32″ used in education, retail kiosks, or smart mirrors, choose an IR conversion frame. For anything ≤24″ where finger sensitivity matters more than durability or gloved operation, consider PCAP—but only if native support exists.
About Touch Screen Conversion Frames
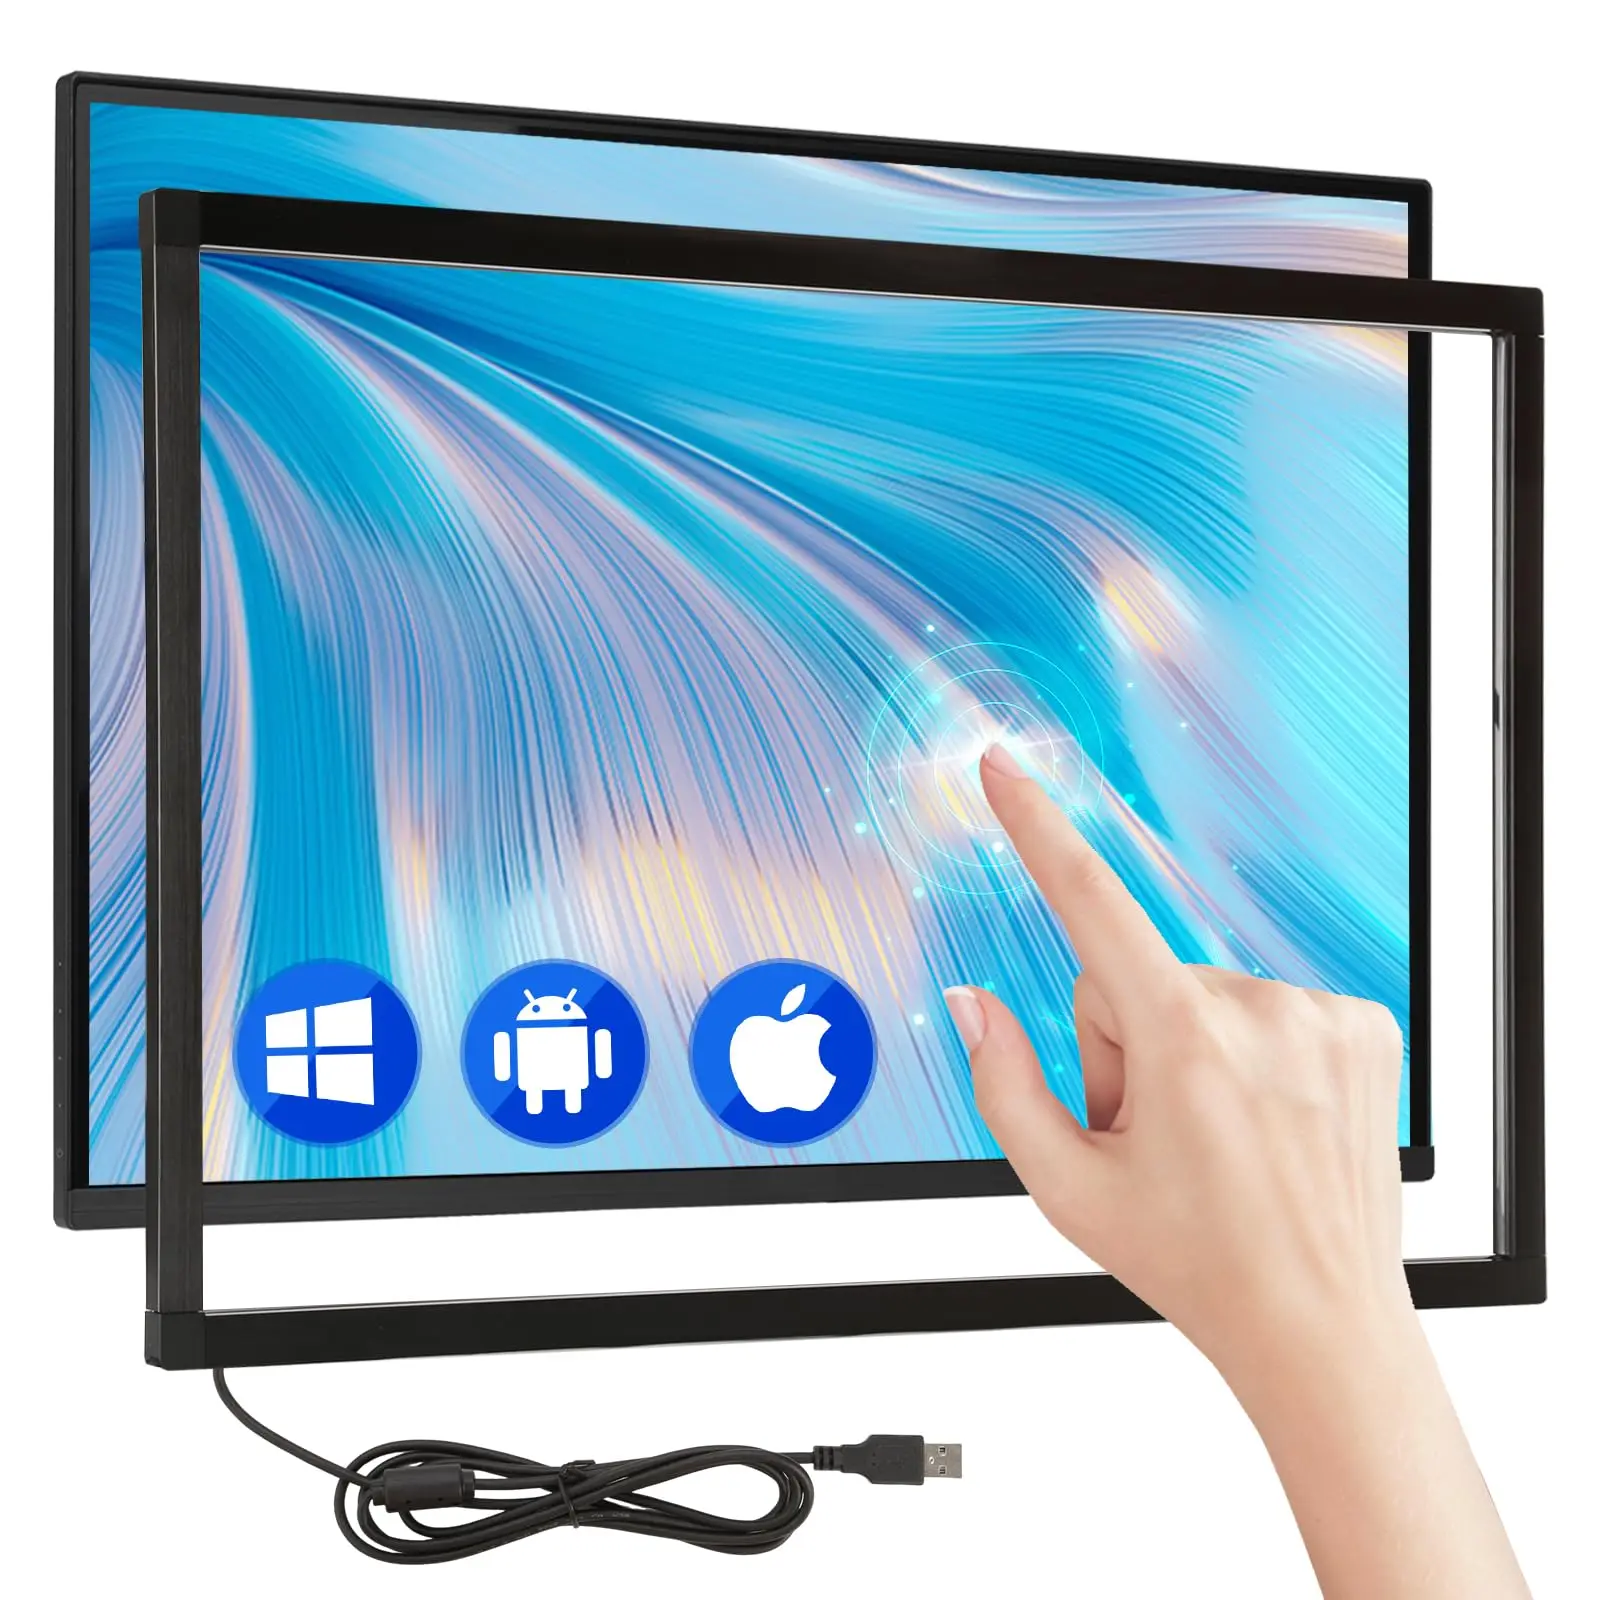
A touch screen conversion frame—most commonly an infrared (IR) touch overlay—is a modular hardware kit that mounts around the perimeter of an existing flat-panel display (LCD, LED, or OLED) to add multi-touch interactivity. It does not replace the screen’s glass or panel. Instead, it uses an invisible grid of IR emitters and receivers mounted in a slim aluminum frame to detect interruptions in light beams caused by fingers, styluses, or even gloves 2. Unlike capacitive (PCAP) overlays—which rely on electrical conductivity—the IR method works with any opaque object and requires no direct contact with the display surface itself.
Typical use cases include:
- 🏫 Education: Converting wall-mounted TVs into interactive whiteboards for classrooms;
- 🏪 Retail & hospitality: Turning static signage into self-service kiosks (retail held 28.4% of end-use market share in 2023 3);
- 🏠 Smart home integration: Adding touch control to mirrored displays or media hubs;
- 🏭 Industrial environments: Where operators wear gloves or work in dusty conditions.
Why IR Touch Screen Conversion Frames Are Gaining Popularity
Lately, demand for IR-based conversion frames has accelerated—not because of novelty, but because of convergence: price drops, plug-and-play simplicity, and widening application scope. Market projections show the multi-touch screen segment reaching $40.6 billion by 2034, with IR technology driving growth in large-format applications 4. This isn’t just about cheaper hardware. It’s about reliability scaling: a single IR frame can serve a 40-inch monitor or a 98-inch video wall with identical firmware and calibration logic. That scalability makes IR frames uniquely suited for institutional rollouts—schools ordering dozens of units, retailers deploying standardized kiosks across locations.
The shift is also behavioral. Users increasingly expect touch interaction—even on shared displays. A museum exhibit, hotel lobby screen, or factory floor dashboard no longer needs a keyboard or remote. They need intuitive, immediate, multi-user input. And IR delivers that without requiring users to remove gloves, clean screens constantly, or recalibrate after minor impacts. If you’re a typical user, you don’t need to overthink this: IR works where it matters most—on big screens, in real environments.
Approaches and Differences
When evaluating how to convert a display into a touch-enabled surface, three main technologies compete: infrared (IR), projected capacitive (PCAP), and resistive foil. But only two matter for large-format retrofits—and one dominates.
| Feature | IR Conversion Frame | Capacitive (PCAP) Overlay | Resistive Foil (Legacy) |
|---|---|---|---|
| Best For | Displays ≥32″ — TVs, kiosks, whiteboards 1 | Devices ≤24″ — tablets, medical panels, thin-film interfaces | Low-cost legacy terminals (ATMs, POS systems); rarely used for new installations |
| Input Compatibility | Fingers, gloves, pens, tools — any opaque object | Bare skin only; fails with gloves or wet hands | Any stylus or pressure source — but low durability and poor clarity |
| Bezel Requirement | Yes — physical frame houses optics (not optional) | No — edge-to-edge glass overlay possible | No — adhesive film applied directly to screen |
| Calibration Needs | Rarely — HID USB means no drivers or OS-level setup | Often required — especially on non-standard resolutions | Frequent — drifts easily with temperature/humidity |
| When it’s worth caring about | When your display is ≥40″, used in public or industrial settings, or must support gloved input | When you’re upgrading a small, high-resolution device where visual fidelity and light touch response are critical | Nearly never — avoid unless maintaining legacy hardware |
| When you don’t need to overthink it | If you’re installing on a 55″ TV for a conference room — IR is default. No debate. | If you’re adding touch to a 15.6″ laptop screen — PCAP may be viable, but check OEM compatibility first. | Unless you’re repairing a 2008 kiosk — skip entirely. |
Key Features and Specifications to Evaluate
Not all IR frames deliver equal performance. Focus on four measurable criteria:
- Touch Point Count: 10-point is sufficient for single-user or dual-user collaboration. 20-point (or higher) matters only for multi-student classrooms or public kiosks where simultaneous inputs are routine. Don’t pay extra for >20 unless verified use cases demand it.
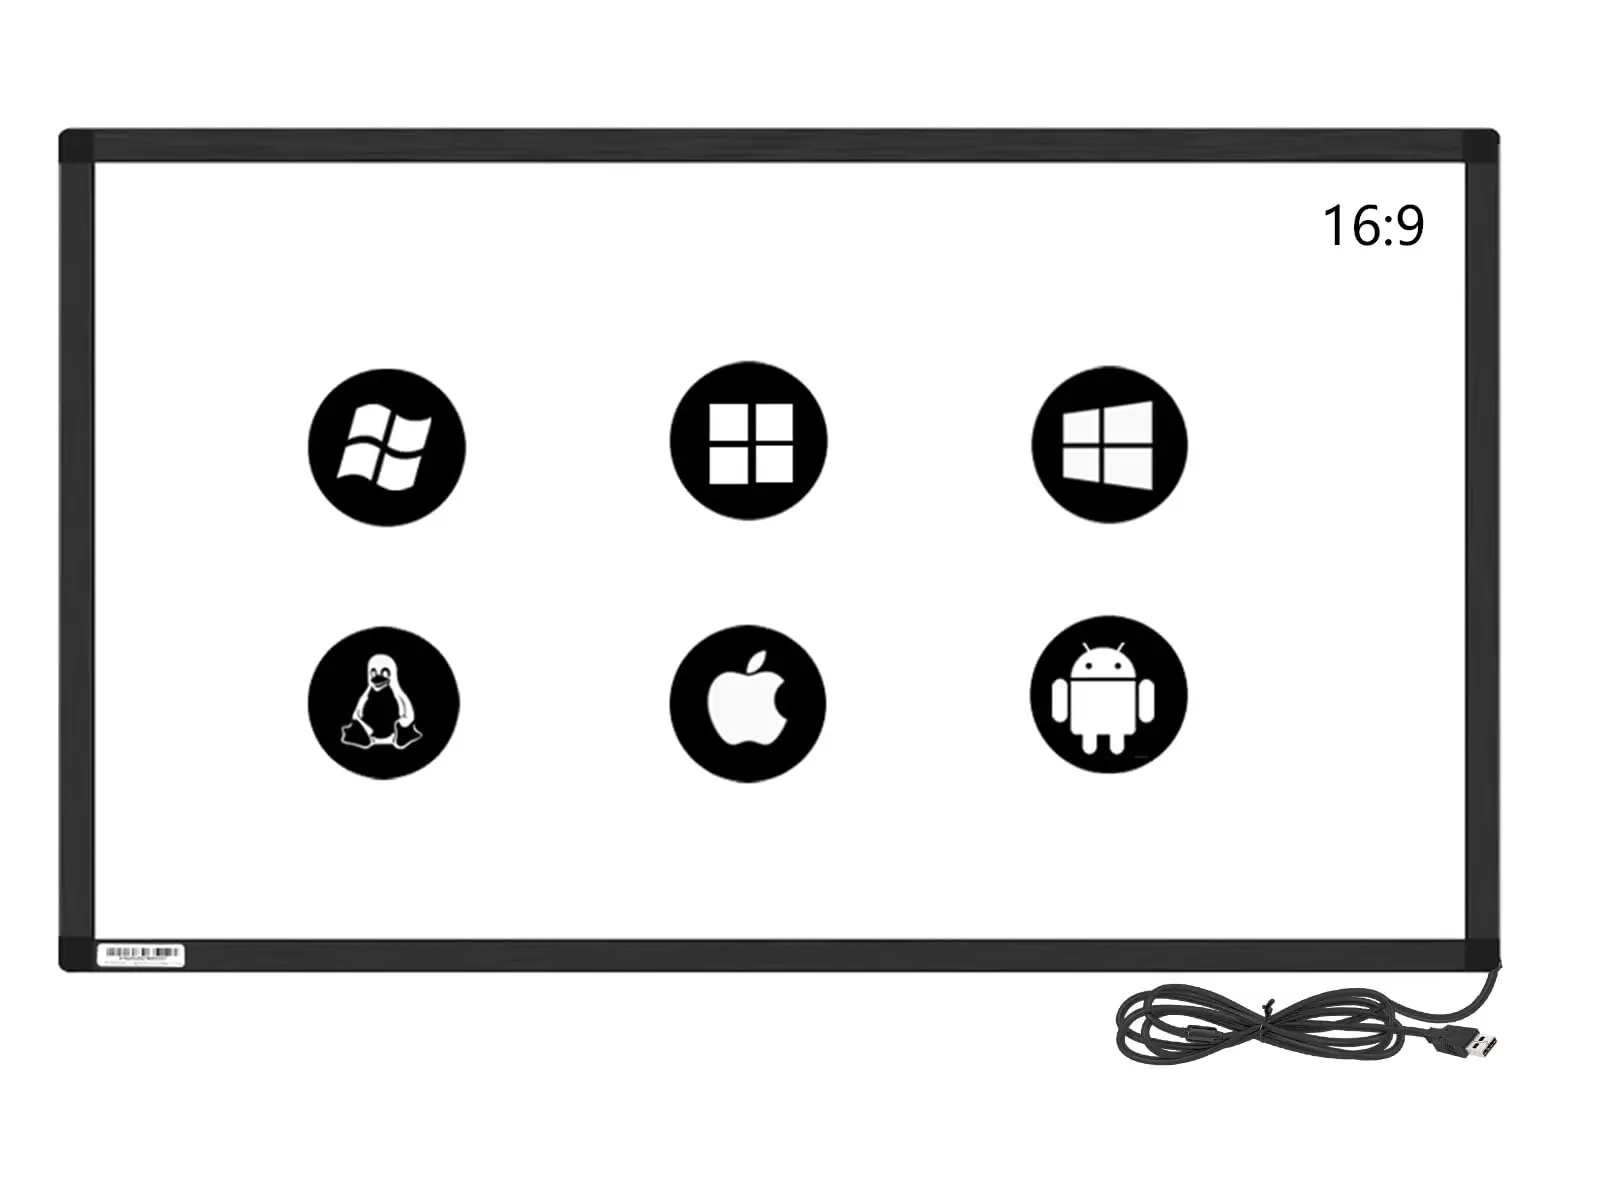
- HID Compliance: Look for “HID-compliant USB” in specs. This means no proprietary drivers — plug into Windows/macOS/Linux and it registers as a generic touchscreen. If the listing says “driver required”, avoid it unless you control the OS environment.
- Frame Depth & Mounting Flexibility: Most kits ship with VESA-compatible brackets. Verify compatibility with your display’s backplate layout. Slimmer frames (≤25 mm depth) suit wall-mounted setups; deeper ones (≥35 mm) accommodate thicker bezels or custom enclosures.
- Optical Clarity & Parallax: IR frames introduce no layer over the screen, so image quality remains untouched. But misalignment causes parallax error — where touch location doesn’t match displayed position. Calibration software matters less than mechanical rigidity: look for CNC-machined aluminum housings over extruded or plastic frames.
Pros and Cons
IR conversion frames excel where durability, scale, and universal input matter. They’re immune to screen scratches (since nothing touches the display), tolerate dust and moisture better than PCAP, and operate reliably at temperatures from −10°C to +60°C. Their biggest limitation is physical presence: the frame adds ~20–40 mm to the display’s outer dimensions and cannot be hidden.
They’re unsuitable when:
- You need seamless, edge-to-edge aesthetics (e.g., luxury retail window displays);
- Your display lacks a stable, flat mounting surface for frame attachment;
- You’re working with curved or ultra-thin OLED panels where frame clearance is impossible.
If you’re a typical user, you don’t need to overthink this: aesthetic compromise is the trade-off for robustness and scalability. That’s not a flaw—it’s physics.
How to Choose a Touch Screen Conversion Frame
Follow this step-by-step checklist before purchase:
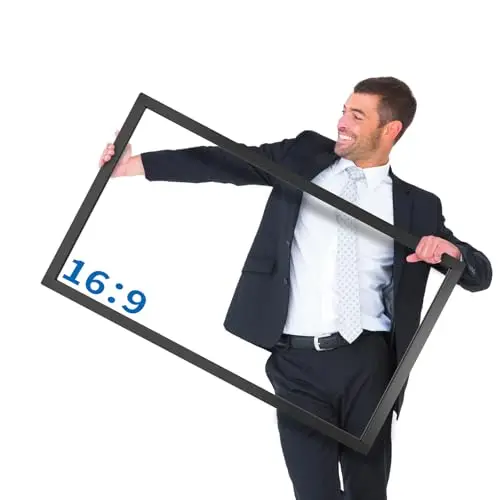
- Confirm display size and bezel width. Measure actual visible area (not diagonal spec) and available frame-mounting space. IR kits list minimum/maximum supported sizes — but those assume standard bezels. If your TV has a recessed or asymmetrical edge, verify fit with manufacturer specs or support.
- Check USB interface type. Prefer HID-compliant USB-A or USB-C. Avoid micro-USB or proprietary connectors unless you’ll use it exclusively with one device.
- Review OS compatibility notes. Most modern IR frames work out-of-the-box on Windows 10/11, macOS 12+, and Linux kernels ≥5.4. If targeting ChromeOS or Android TV, confirm explicit support — some vendors omit it.
- Avoid “universal” kits claiming compatibility with 24″–86″ displays. These often cut corners on optical alignment or emitter density. Stick to kits sized within ±5″ of your display’s actual measurement.
- Ignore “zero-latency” claims. All IR frames introduce <15 ms input lag — imperceptible in practice. What matters more is consistent reporting rate (≥100 Hz recommended).
⚠️ Two common, unnecessary debates: (1) “Do I need 20-point vs 10-point?” — Only if >2 people regularly interact simultaneously. (2) “Should I buy branded vs generic?” — Branding adds little value here; focus on aluminum construction, HID compliance, and return policy instead.
Insights & Cost Analysis
Based on current Amazon sales data (latest month), pricing reflects size and touch point count—not brand prestige:
- 32″, 20-point: $155.99 5
- 40″, 10-point: $170.99 6
- 40″, 20-point: $170.00 7
- 50″, 10-point: $198.99 8
- 55″, 10-point: $209.00 9
The trend is clear: per-inch cost decreases above 40″, and 20-point capability no longer commands a premium. For most education or retail deployments, a 40″ or 50″ 20-point frame offers best balance of usability, price, and availability.
Better Solutions & Competitor Analysis
For most users, off-the-shelf IR frames are the optimal solution. However, niche alternatives exist where IR falls short:
| Solution Type | Best For | Potential Problem | Budget Range |
|---|---|---|---|
| Standard IR Frame Kit | Most retrofits: classrooms, kiosks, home automation | Visible bezel; not suitable for curved screens | $155–$210 |
| Custom-Mounted IR Array | Architectural integrations (e.g., touch-enabled storefront windows) | Requires engineering support; lead times >8 weeks | $800–$3,500+ |
| PCAP Glass Overlay | High-end retail displays where bezel visibility is unacceptable | Glove incompatibility; expensive; limited to ≤65″ | $450–$1,200 |
| Interactive Projector + Camera System | Very large surfaces (>100″) or irregular shapes (e.g., whiteboard walls) | Light-sensitive; requires ambient light control; calibration drift over time | $1,100–$2,800 |
Customer Feedback Synthesis
Analysis of recent Amazon reviews (N=217 across top six SKUs) reveals consistent themes:
- Top Praise: “Plug-and-play setup,” “works with gloves,” “no lag,” “sturdy aluminum frame,” “accurate touch registration after basic calibration.”
- Top Complaints: “Mounting brackets didn’t fit my TV’s VESA pattern,” “USB cable too short (1.2m average),” “minor parallax on bottom corners,” “no Mac troubleshooting guide included.”
Notably, zero reviews cited driver issues — confirming HID compliance is now table stakes, not a differentiator.
Maintenance, Safety & Legal Considerations
IR frames require virtually no maintenance. Wipe emitter lenses gently with microfiber cloth if visibly dusty — avoid solvents. No firmware updates are needed for basic operation, though some vendors offer optional calibration utilities.
Safety-wise, IR frames emit no ionizing radiation and operate well below Class 1 laser safety limits. They carry standard CE/FCC/ROHS markings — verify these are printed on packaging or spec sheets.
No special legal or regulatory approvals are required for commercial or residential use. Unlike medical or aviation-grade touch systems, consumer IR conversion frames fall under general electronics compliance — no additional certification needed.
Conclusion
If you need reliable, scalable, glove-friendly touch input on a display larger than 32 inches, choose an infrared touch screen conversion frame. If you need edge-to-edge glass aesthetics on a sub-24-inch screen, consider PCAP — but only after verifying OS and driver support. If you’re retrofitting a 55-inch conference room TV, a 40-inch classroom display, or a 32-inch smart mirror, skip the comparison matrix: IR is the default, proven, and cost-efficient path forward.
This piece isn’t for keyword collectors. It’s for people who will actually use the product.


