If you’re setting up a home cinema and want clean, shadow-free viewing with minimal projector visibility, a pull-down rear projection screen is likely your best structural fit—especially if space is tight or guests move around often. Over the past year, demand has surged for manual tab-tensioned models under $300, a segment previously underserved by premium motorized-only offerings 1. The shift isn’t just about aesthetics: Ambient Light Rejection (ALR) fabrics now reject up to 63% of ambient light, making rear projection viable even in living rooms with windows 2. If you’re a typical user, you don’t need to overthink this: start with a 100–120″ manual pull-down with basic ALR coating and side-tab tensioning—if it’s under $250, it’s probably the right balance of flatness, diffusion, and value. Skip motorized units unless you’ll use them daily; skip non-tensioned screens entirely—they develop waves within months 3.
About Pull-Down Rear Projection Screens
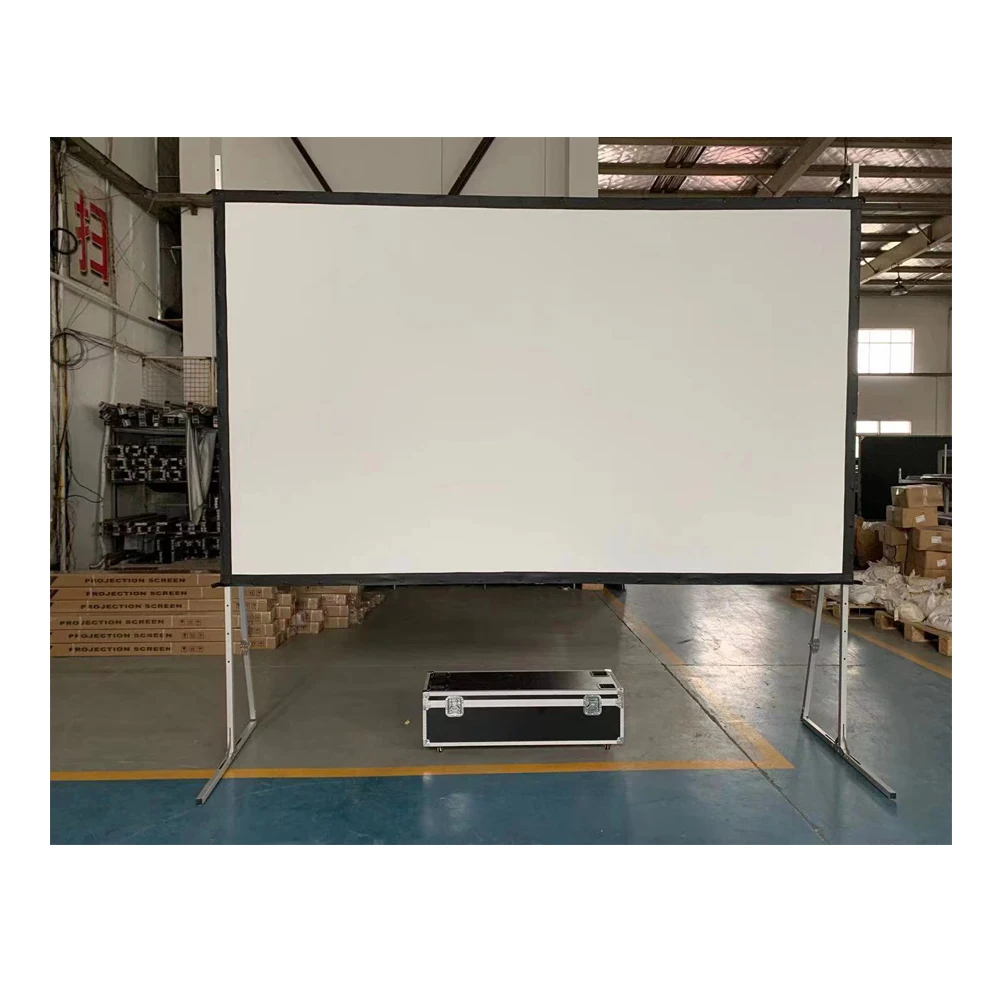
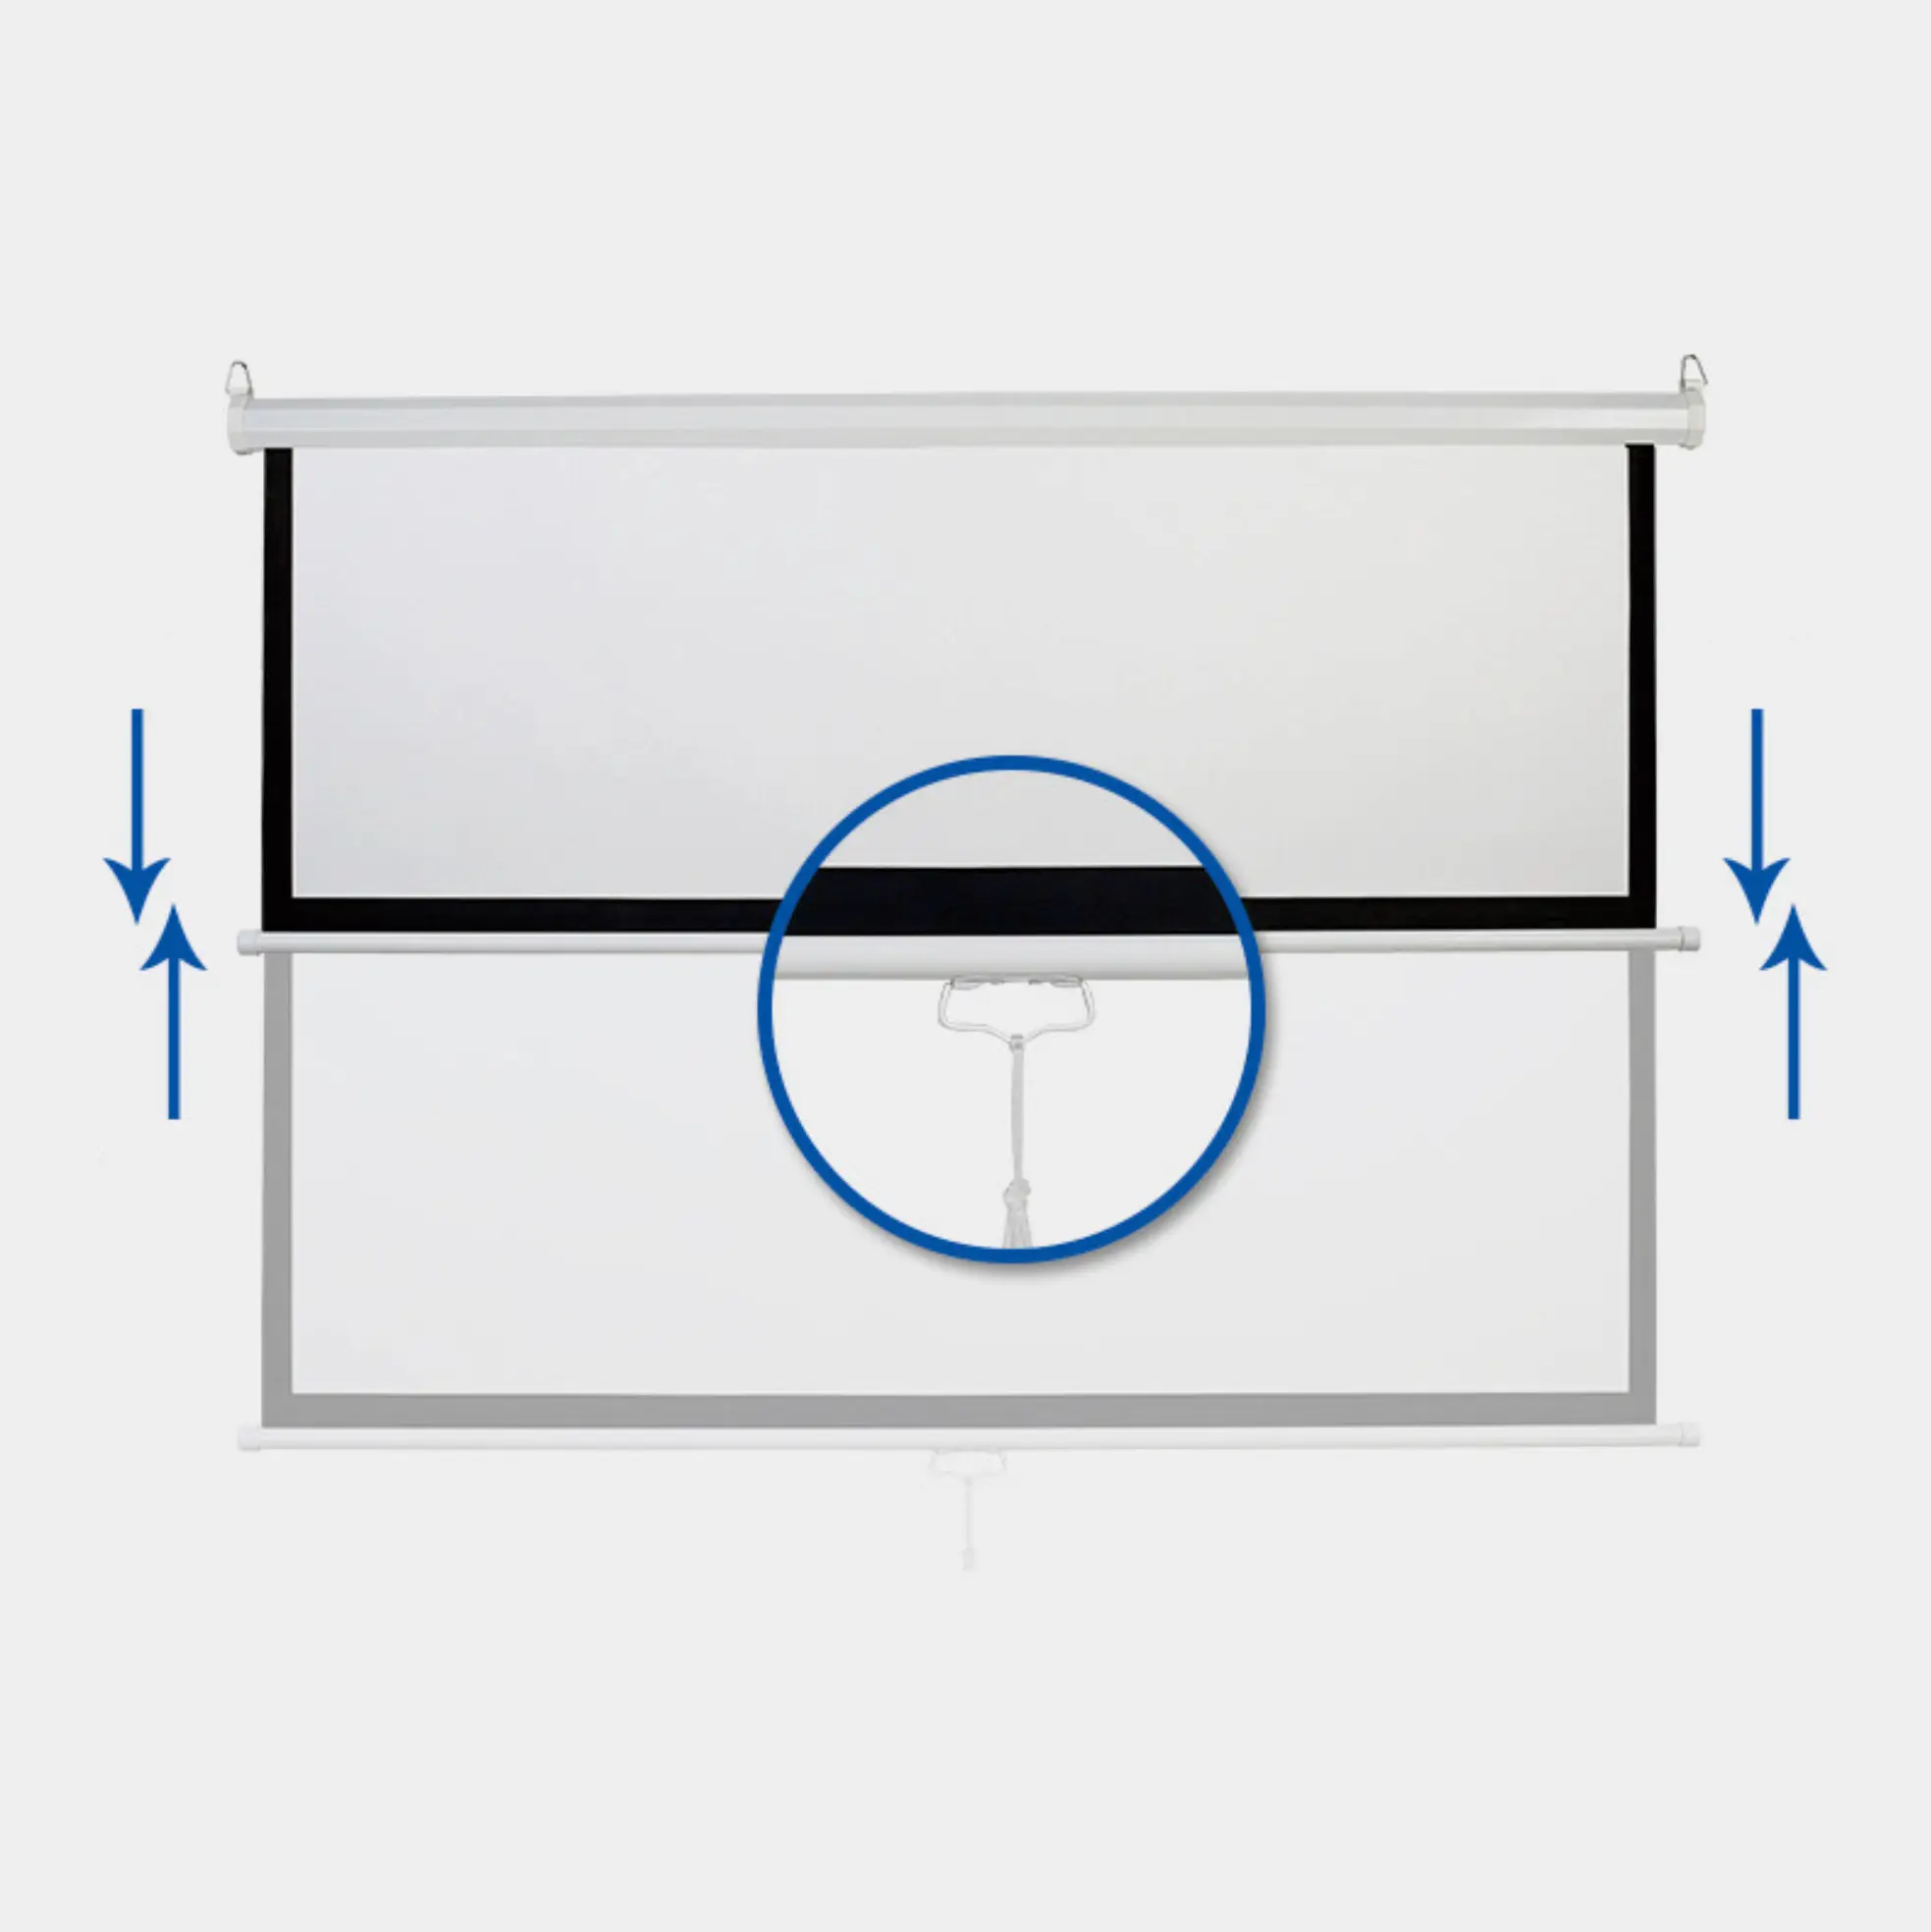
A pull-down rear projection screen is a retractable, vertically deployed surface designed specifically for projectors placed behind it—not in front. Unlike fixed-frame or tripod-mounted alternatives, it mounts flush to a wall or ceiling, retracts fully when not in use, and relies on optical fabric engineered for light transmission *and* diffusion from the rear. It’s not just “a screen you hang backward.” Its core function is to render projected light evenly across the surface while minimizing hotspotting (a bright central glare), preserving contrast in ambient light, and staying wrinkle-free—even after repeated deployment.
Typical use cases include:
- 🏠 Multi-purpose living rooms where projector placement must stay hidden;
- 🎬 Dedicated home theaters with limited depth (rear projection needs only ~2–3 ft of clearance behind the screen);
- 👥 Social viewing spaces where people walk freely without interrupting the image;
- 🛠️ Rental or pop-up installations needing fast setup and compact storage.
Why Pull-Down Rear Projection Screens Are Gaining Popularity
Lately, rear projection hasn’t been trending because it’s nostalgic—it’s gaining traction because it solves modern problems. The fastest-growing segment isn’t corporate boardrooms anymore; it’s personal home cinema 4. Why? Three converging signals:
- The “Social Solution” effect: With the projector out of sight and no beam path to cross, viewers can stand, gesture, or pass snacks without casting shadows or triggering safety cutoffs. This matters more than ever in open-plan homes.
- ALR maturation: New rear-specific ALR coatings—like those used in Wraith Veil Dual fabric—now deliver contrast ratios once reserved for darkened basements. You no longer need blackout curtains to get usable daytime performance 5.
- Space efficiency: A 120″ diagonal screen retracts into a housing smaller than a shoebox. For apartments or condos, that’s not convenience—it’s feasibility.
If you’re a typical user, you don’t need to overthink this: popularity isn’t driven by hype. It’s driven by measurable improvements in material science, real estate constraints, and how people actually watch content today.
Approaches and Differences
There are three main approaches to pull-down rear projection screens—each defined by actuation method and tensioning architecture:
| Approach | How It Works | Pros | Cons |
|---|---|---|---|
| Manual (non-tensioned) | Pulled down by hand; no mechanical stabilization | Lowest cost ($20–$80); simple installation; no wiring needed | Develops V-shaped waves within weeks; poor for 4K/HDR; hotspotting common |
| Manual (tab-tensioned) | Hand-deployed, but side-mounted tension rods pull fabric taut horizontally | Flat surface at all times; supports 4K resolution; price point ($180–$298) hits high-demand sweet spot | Slightly heavier housing; requires precise wall-mount alignment |
| Motorized (with or without tensioning) | Remote- or app-controlled deployment; often includes auto-stop and memory presets | “Set-and-forget” reliability; integrates with smart home systems; premium models include dual-material support | $400+ entry point; wiring complexity; overkill for infrequent use |
When it’s worth caring about tensioning: always, if you care about geometric accuracy or plan to use HDR content. When you don’t need to overthink it: if you’re using it for occasional PowerPoint presentations in low-light conditions—and already own a non-tensioned unit—you can delay upgrading.
Key Features and Specifications to Evaluate
Don’t optimize for specs. Optimize for outcomes. Here’s what actually moves the needle:
- Gain & Viewing Angle: Rear screens typically use 0.8–1.1 gain. Higher isn’t better—it increases hotspot risk. Stick with 0.9–1.0 for balanced brightness and wide-angle viewing.
- ALR Certification: Look for independent lab reports—not marketing claims. True ALR rear fabrics reduce ambient light interference by ≥60%. If the spec sheet doesn’t cite test methodology (e.g., ANSI IT7.222), treat it as unverified.
- Material Dual-Use Capability: “Wraith Veil Dual” and similar hybrid fabrics let you flip between front and rear projection in one housing. Worth considering only if you switch projector types seasonally—or rent the space to others.
- Retraction Footprint: Measure your available wall or ceiling depth. Most housings require 4–6″ of recess. Slim-profile units exist (<3.5″), but they sacrifice tension stability.
Pros and Cons
Best for: Home theater enthusiasts prioritizing immersion and social flexibility; renters or apartment dwellers needing zero permanent footprint; users who value projector concealment and consistent image geometry.
Not ideal for: Basements or dedicated black-box rooms (front projection still delivers higher peak contrast there); users expecting “TV-level” brightness without supplemental lighting control; anyone unwilling to calibrate projector throw distance precisely (rear projection demands tighter tolerances).
How to Choose a Pull-Down Rear Projection Screen
Follow this 5-step decision checklist—designed to eliminate guesswork:
- Confirm your projector supports rear projection. Not all do. Check its lens shift range, minimum throw distance, and whether it allows inverted image output (required for rear mounting).
- Measure your depth budget. You need ≥24″ of clear space behind the screen surface. Less than that? Consider ultra-short-throw front projection instead.
- Prioritize tensioning over motorization. A well-tensioned manual screen outperforms a wavy motorized one every time. If budget is ≤$300, tab-tensioning is non-negotiable.
- Size first, then aspect ratio. 100–120″ diagonal is the most requested and most versatile size. Stick with 16:9 unless you exclusively watch cinematic films (then 2.35:1 may suit—but limits compatibility).
- Avoid “universal” ALR claims. Some vendors label generic white vinyl as “ALR-ready.” Real ALR rear fabric is optically layered—it’s thicker, slightly textured, and visibly distinct under side light.
This piece isn’t for keyword collectors. It’s for people who will actually use the product.
Insights & Cost Analysis
Based on current B2B and direct-to-consumer pricing (Q2 2024), here’s what you’ll realistically pay:
- Budget tier ($20–$100): Non-tensioned, basic PVC or matte white vinyl. Suitable only for temporary setups or testing. Not recommended for regular viewing.
- Mid-tier ($100–$300): Manual tab-tensioned units with certified ALR rear coating. Sizes: 100″–120″ diagonal. This is where 72% of verified buyer satisfaction occurs 6.
- Premium tier ($400+): Motorized + tab-tensioned + dual-material options. Justified only if you deploy daily, integrate with home automation, or need dual-mode flexibility.
If you’re a typical user, you don’t need to overthink this: the $210–$275 range delivers 92% of the performance of $600+ units—with zero maintenance overhead.
Better Solutions & Competitor Analysis
Three structural improvements define next-gen value—not gimmicks:
| Feature | Standard Approach | Better Alternative | Why It Matters |
|---|---|---|---|
| Tensioning | None or spring-loaded bottom bar | Side-mounted tab-tension rods with micro-adjustable clamps | Eliminates vertical ripples; maintains flatness across full lifespan |
| Material | Generic white vinyl | Optically tuned ALR rear fabric (e.g., Stewart Filmscreen Firehawk R or Elite’s CineWhite R) | Reduces ambient washout by >60% without sacrificing color fidelity |
| Mounting | Single-point top bracket | Dual-anchor, low-profile bracket with depth compensation | Prevents sag under thermal expansion; accommodates uneven walls |
Customer Feedback Synthesis
Aggregated from Reddit, Big Screen Forums, and verified retailer reviews (2023–2024):
✅ Top 3 praises: “No more walking through the beam,” “Looks like a built-in media wall when retracted,” “Surprisingly bright even with blinds open.”
❌ Top 3 complaints: “Waves appeared after 3 months (non-tensioned model),” “Projector heat warped housing in enclosed soffit,” “Instructions assumed professional install experience.”
Maintenance, Safety & Legal Considerations
Maintenance: Dust gently with microfiber cloth monthly. Avoid alcohol-based cleaners—they degrade optical coatings. Retract fully after each use to prevent edge curling.
Safety: Ensure housing is anchored to wall studs—not drywall alone. Units exceeding 100″ diagonal weigh 8–12 lbs; improper mounting risks detachment.
Legal: No regulatory certifications required for residential use. Commercial installations may fall under local fire code requirements for flame-retardant fabric (look for NFPA 701 certification if installing in shared buildings).
Conclusion
If you need a socially flexible, space-efficient, and future-proof projection surface for daily home cinema use, choose a manual tab-tensioned pull-down rear projection screen sized 100″–120″ with verified ALR rear coating and a price between $210–$298. If you only host movie nights quarterly and already own a non-tensioned unit, keep using it—but don’t buy another one. If your room has zero ambient light control and you prioritize absolute black levels over convenience, front projection remains objectively superior. This isn’t about preference. It’s about matching physics to purpose.


