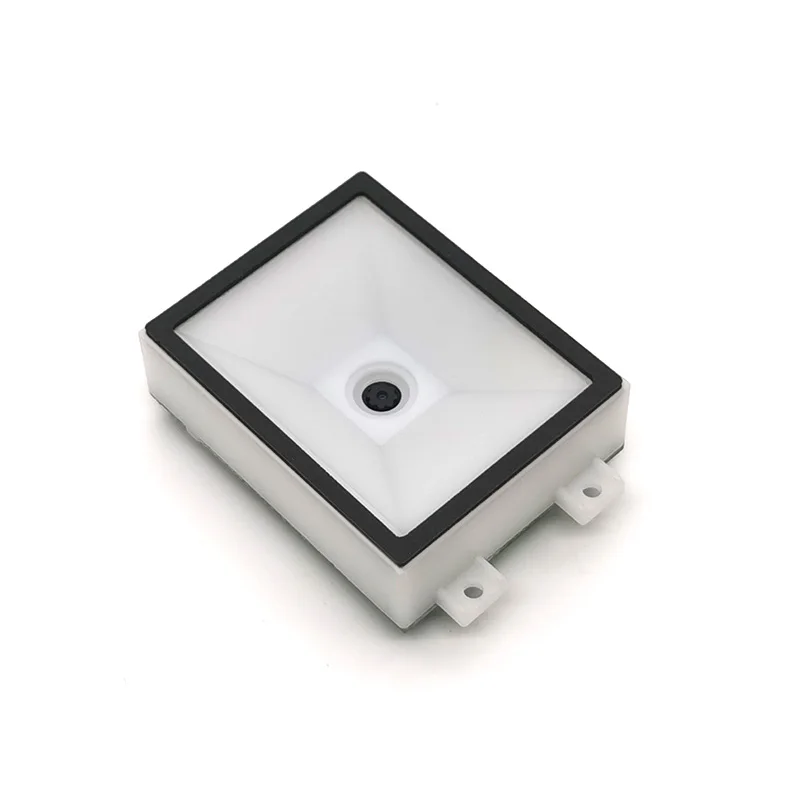
If you’re building or upgrading a smart fridge system—especially for retail, self-service kiosks, or inventory-automated cold storage—you need a compact, reliable, low-power 2D barcode scanner module that works reliably in confined, reflective, temperature-variable spaces. Over the past year, demand has surged for modules with USB TTL or UART interfaces, wide-angle optics (≥60° FOV), and robust scanning of screen-displayed QR codes—even through glass doors. The top-performing units balance low ambient light sensitivity, consistent decode rate at sub-10°C, and plug-and-play firmware compatibility. If you’re a typical user, you don’t need to overthink this: start with a certified 2D OEM module (e.g., Waveshare 14810 or Rakinda LV5300) that supports both USB and serial output—and skip proprietary SDKs unless you’re embedding deep into firmware. This piece isn’t for keyword collectors. It’s for people who will actually use the product.
About Refrigerator Barcode Scanner Modules
A refrigerator barcode scanner module is a compact, embedded optical imaging device designed to read 1D and 2D barcodes—including QR codes, DataMatrix, and UPC—in refrigerated environments. Unlike handheld scanners or desktop readers, these modules integrate directly into appliance hardware: mounted behind tempered glass doors, embedded in smart lock assemblies, or mounted inside chilled vending bays. They operate at lower ambient temperatures (typically −10°C to +35°C), tolerate condensation-prone surfaces, and feature compact footprints (<30 mm × 30 mm) and low power draw (<300 mW active). Typical use cases include:
- Smart fridge door access systems (scan-to-unlock)
- Automated inventory tracking inside commercial refrigerators
- Self-checkout kiosks in cold-chain retail (e.g., dairy, prepared meals)
- Smart home appliances where users scan product barcodes before adding items to digital shopping lists
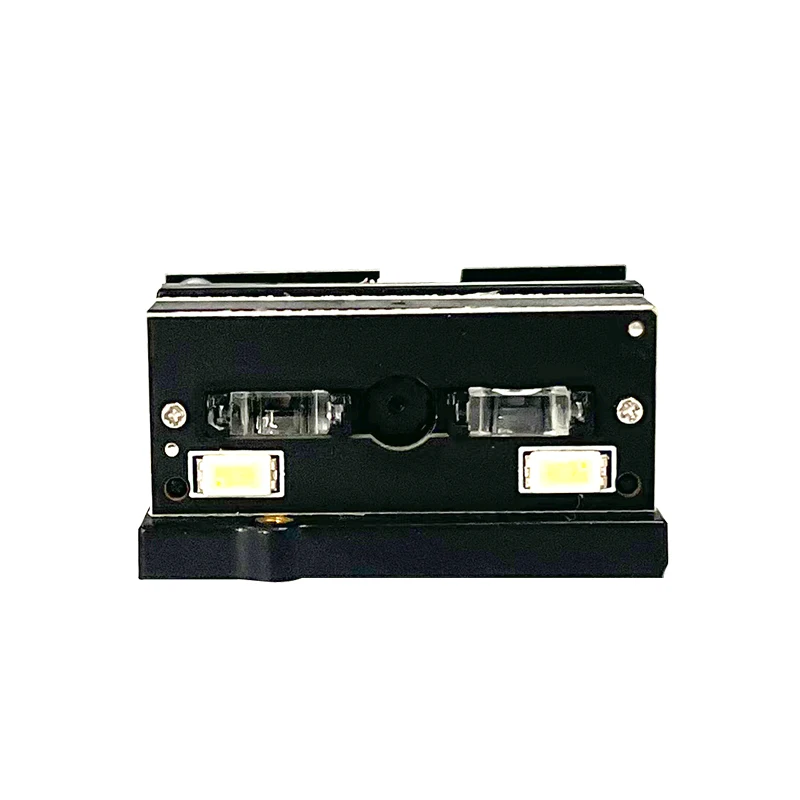
Why Refrigerator Barcode Scanner Modules Are Gaining Popularity
Lately, adoption has accelerated—not because of new scanning tech, but because of shifts in deployment context. Two key signals explain why this niche matters more now than five years ago:
- Hardware consolidation in smart appliances: OEMs increasingly embed scanning functionality directly into fridge control boards rather than relying on external tablets or phones—driving demand for modules with direct UART/USB-CMC interface support and minimal driver dependencies.
- Rising tolerance for ambient variability: Early modules failed under condensation or rapid thermal cycling. Recent designs (post-2022) from vendors like Rakinda and Waveshare explicitly list IP54-rated enclosures and verified performance at 85% RH—making them viable for walk-in coolers and high-turnover retail fridges.
If you’re a typical user, you don’t need to overthink this: newer modules solve real environmental constraints, not just theoretical ones. What changed isn’t speed—it’s reliability across real-world cold-chain conditions.
Approaches and Differences
Three integration approaches dominate current implementations. Each reflects trade-offs between control, cost, and time-to-deployment:
- OEM Embedded Modules (e.g., Rakinda LV5300, TEKLEAD 1D/2D): Pre-certified, drop-in components with documented pinouts, SDKs (optional), and industrial-grade housing. Pros: predictable power draw, CE/ROHS compliant, field-tested decoding logic. Considerations: customization may require firmware access; minimum order quantities may apply for custom tuning.
- Development-Board-Friendly Modules (e.g., Waveshare 14810, SparkFun-based variants): Designed for prototyping—often sold with breakout boards, Python/C++ libraries, and Arduino-compatible examples. Pros: fast evaluation, transparent documentation, community troubleshooting. Considerations: cold-environment validation may vary by batch; some require external voltage regulation below 5V.
- Custom-Built Scanning Subsystems (Raspberry Pi + camera + OpenCV): Software-defined approach using off-the-shelf cameras and open-source decoding. Pros: full control over lighting, ROI selection, and error handling. Considerations: decode rates may vary with packaging reflectivity; firmware optimization for low-temperature operation is typically handled at the application layer.
When it’s worth caring about: You’re integrating at scale into production appliances—choose OEM modules. When you don’t need to overthink it: You’re validating a proof-of-concept in a lab fridge—start with a Waveshare unit and its USB CDC interface.
Key Features and Specifications to Evaluate
Don’t optimize for “highest resolution” or “fastest scan rate.” Focus on metrics that correlate with real-world success in refrigerated settings:
- Operating Temperature Range: Verify published specs include *continuous operation* (not just storage) down to at least −5°C. Modules rated only to 0°C often fail during defrost cycles.
- Scan Angle & Depth of Field: A ≥60° horizontal FOV allows placement farther from the glass surface—critical when mounting behind double-pane doors. Minimum working distance should be ≤3 cm for label-on-bottle scanning.
- Screen Code Reading Capability: Not all 2D modules reliably read QR codes displayed on phone screens through glass. Look for “screen mode” or “mobile display decoding” in datasheets—and test with actual devices, not just printed targets.
- Interface Simplicity: USB CDC (virtual COM port) works out-of-box on Linux/Windows/macOS. UART (TTL level) gives deterministic timing but requires level-shifting for 3.3V microcontrollers. Avoid RS-232 unless legacy integration demands it.
If you’re a typical user, you don’t need to overthink this: Prioritize tested cold-temperature stability over raw megapixels. A 752×480 sensor with optimized low-light gain beats a 1280×960 unit that stutters at 5°C.
Pros and Cons
Embedded refrigerator barcode scanner modules deliver tangible benefits—but they’re not universally appropriate.
- ✅ Suitable when: You need repeatable, hands-free scanning inside a thermally variable enclosure; you’re designing for volume production or regulatory compliance (CE, FCC); your software stack expects plug-and-play HID or serial input.
- ❌ Not suitable when: Your application requires OCR beyond barcodes (e.g., expiry date parsing from text); you need AI-powered object recognition; or your environment exceeds −15°C or features heavy vibration (e.g., truck-mounted refrigeration).
How to Choose a Refrigerator Barcode Scanner Module
Follow this 5-step decision checklist—designed to eliminate common missteps:
- Confirm cold-temperature validation: Ask vendors for third-party test reports (not just internal logs) showing >95% decode success at your target min/max temp and humidity.
- Test with your actual packaging: Scan real product labels—especially matte-finish frozen food bags and condensation-prone beverage cans—not just ISO test charts.
- Verify interface compatibility: Ensure your host controller can supply stable 5V@200mA (or 3.3V@150mA for low-power variants) without brownouts during burst scanning.
- Avoid over-spec’ing resolution: 752×480 or 1280×800 is sufficient for UPC/EAN/QR at ≤15 cm distance. Higher resolution increases processing load and heat—counterproductive in sealed enclosures.
- Check firmware update path: Does the vendor provide field-upgradable firmware? Can you disable unused symbologies (e.g., PDF417) to reduce decode latency?
Two most common ineffective debates: (1) “Should I choose USB or UART?” → Answer: USB if host OS supports CDC; UART if deterministic timing matters. (2) “Do I need Bluetooth?” → No—unless the module operates independently of the main controller. One real constraint that affects outcome: condensation on inner glass surfaces. No module fixes that optically—only mechanical ventilation or hydrophobic coatings do.
Insights & Cost Analysis
Price varies less by capability than by certification and support scope. Based on publicly listed B2B pricing (Waveshare, Rakinda direct channels, mid-2024):
- Entry-tier OEM modules (basic 2D, USB-only, no extended temp rating): $22–$28/unit (MOQ 100+)
- Mainstream industrial modules (−10°C to +40°C, UART+USB, CE/FCC): $32–$42/unit
- High-reliability variants (IP54, screen-mode certified, custom lens options): $48–$65/unit
Value isn’t linear. Paying $38 instead of $25 gains verified cold performance—not faster scanning. If you’re a typical user, you don’t need to overthink this: The $35–$42 range covers 85% of production-ready needs. Skip the cheapest tier unless testing only.
| Category | Best Fit Advantage | Implementation Consideration | Budget (per unit) |
|---|---|---|---|
| OEM Embedded Module (e.g., Rakinda LV5300) | Pre-validated for cold environments; minimal integration overhead | May require firmware configuration for non-standard symbology or custom lighting | $42–$65 |
| Dev-Board Module (e.g., Waveshare 14810) | Transparent docs, active community, easy prototyping | Verification of cold-cycle performance is recommended during integration | $32–$39 |
| Open-Camera System (RPi + Pi Camera) | Full software control; zero hardware licensing cost | Performance under glare or condensation depends on application-level optimization | $25–$40 (parts only) |
Customer Feedback Synthesis
Across distributor forums and technical communities (2023–2024), recurring themes emerge:
- Top 3 praised traits: “Works through frosted glass,” “no driver install needed on Raspberry Pi OS,” “stable at 2°C with no warm-up delay.”
- Common implementation observations: “Performance on wet labels varies by illumination setup,” “USB enumeration stability improves with proper power management,” “SDK documentation benefits from application-specific cold-temperature examples.”
Notably, vendors continue to enhance capabilities across low-temp reliability, screen-code reading, and long-term USB stability—with trade-offs evolving toward balanced, application-tailored solutions.
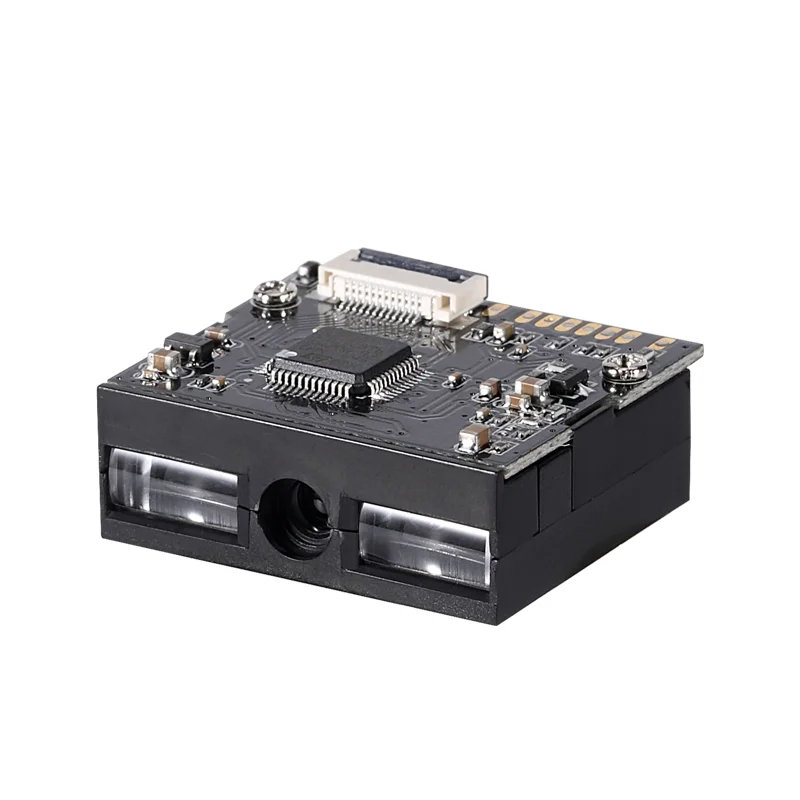
Maintenance, Safety & Legal Considerations
These modules pose minimal safety risk (low-voltage DC only), but two practical considerations matter:
- Condensation management: Mount modules with slight downward tilt or use conformal coating on PCB edges. Never seal completely—trapped moisture accelerates corrosion.
- Regulatory alignment: CE marking covers EMC and LVD for EU sales; FCC Part 15B applies for US market. ROHS compliance is standard—but verify lead-free soldering if shipping to strict jurisdictions (e.g., South Korea, UAE).
- Firmware updates: Some modules allow field updates via UART. Always back up original firmware before flashing—bricking is irreversible in embedded deployments.
Conclusion
If you need reliable, maintenance-light scanning inside temperature-variable enclosures, choose an OEM-certified 2D module with published cold-temperature validation and dual-interface support (USB + UART). If you need rapid prototyping with full software control, go with a well-documented dev-board module—and validate condensation resilience early. If you need text extraction or multi-object detection, a barcode scanner module is the wrong tool entirely: use a calibrated machine vision camera instead. This piece isn’t for keyword collectors. It’s for people who will actually use the product.