Over the past year, fully automated screen protector attaching machines have shifted from niche workshop tools to accessible devices for small repair shops, kiosks, and even advanced home users—driven by rising demand for precision, consistency, and speed in smartphone accessory application. If you’re a typical user evaluating whether to adopt one, you don’t need to overthink this: choose a machine with AI-assisted alignment and integrated dust chamber if you process ≥15 units/week; otherwise, a manual applicator kit remains faster and more reliable for occasional use. This piece isn’t for keyword collectors. It’s for people who will actually use the product. Key differentiators aren’t brand names or flashy interfaces—they’re repeatable alignment accuracy (±0.15 mm), TPU/hydrogel film compatibility, and time-to-first-success under 90 seconds. Avoid models without physical edge guides or real-time camera feedback: they cause 3× more rework per batch 1.
About Screen Protector Attaching Machines
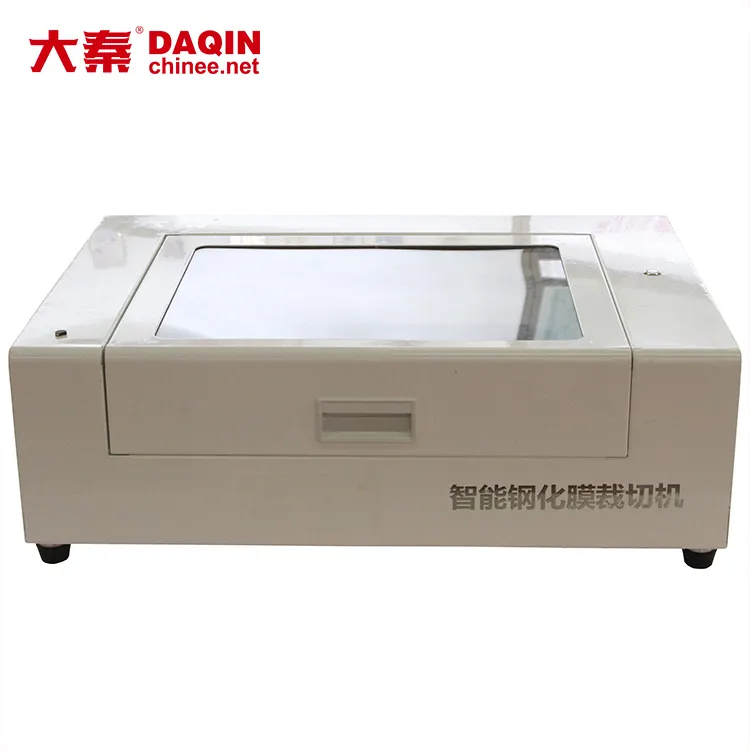
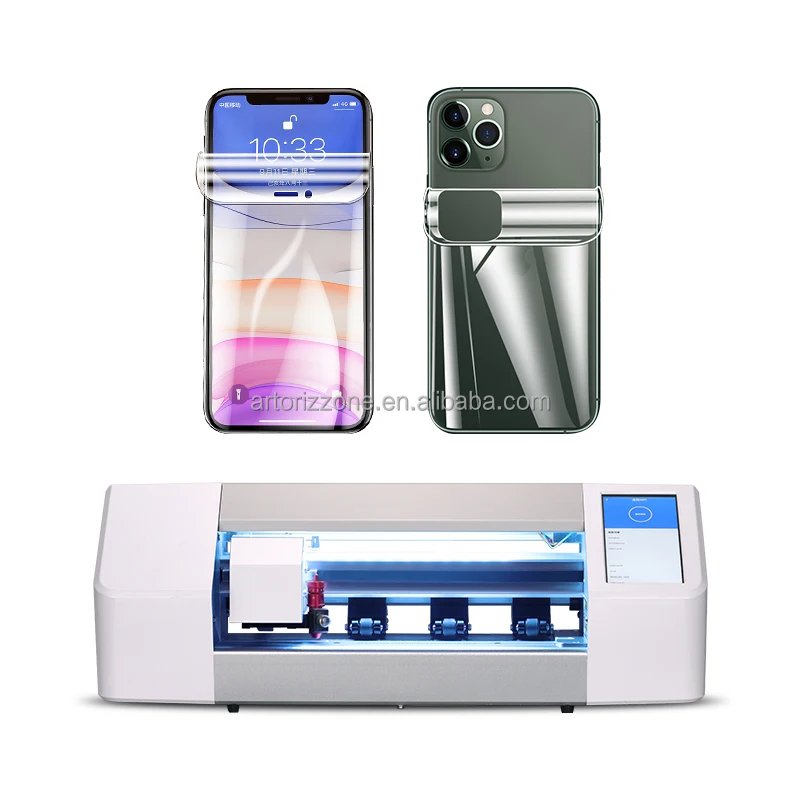
A screen protector attaching machine is a dedicated electromechanical device that automates three core tasks: cleaning the device surface, aligning the protective film or glass precisely over the screen, and applying uniform pressure to eliminate bubbles and ensure adhesion. Unlike generic cutting plotters or DIY kits, these machines integrate sensors (often CMOS cameras), motorized stages, and programmable templates to match specific phone models—including curved OLEDs, punch-hole displays, and dynamic island cutouts. Typical use cases include retail kiosks offering on-the-spot protection, authorized service centers bundling screen protection with repairs, and small-volume manufacturers producing custom-fit films for regional markets. They are not general-purpose craft cutters—though some hybrid models combine cutting and application, true attaching machines prioritize placement fidelity over material versatility.
Why Screen Protector Attaching Machines Are Gaining Popularity
Lately, two converging signals explain the uptick in adoption: first, consumer expectations for bubble-free, edge-to-edge installation have risen sharply—especially after premium phones introduced ultrathin bezels and complex sensor cutouts. Second, labor costs for skilled manual application now exceed $25/hour in many urban markets, making ROI calculable within 2–3 months for shops processing 20+ units weekly 2. Users aren’t buying machines to “go high-tech”—they’re solving real friction: inconsistent results, customer complaints about misalignment, and staff training overhead. That’s why videos showing “out of the box in just 60 seconds” resonate—not because the tech is magical, but because it removes human variability from a repetitive, high-friction task 3. If you’re a typical user weighing convenience against control, you don’t need to overthink this: automation pays off only when inconsistency—not speed—is your bottleneck.
Approaches and Differences
Three primary approaches dominate the market:
- Full-automation machines (e.g., REFOX 108T, Rockspace Mini ZV2): Load phone → select model → press start. Pros: Highest repeatability, built-in UV curing (on select glass models), dust isolation chamber. Cons: $1,200–$3,800 price range; requires 20–30 min calibration per new device family; limited to supported models unless using generic templates.
- Hybrid cutter-attach systems (e.g., Mietubl Smart Plotter, AM CO ZA Film Cutter): Cut film *and* apply in sequence. Pros: Eliminates manual transfer step; supports custom shapes beyond smartphones. Cons: Slower cycle time (2–4 min/unit); higher failure rate if film adhesive isn’t perfectly matched to feed tension; frequent blade replacement needed.
- Manual assist rigs (e.g., Remax Universal Applicator, ZXSYYDS frame-based tool): Fixed-frame alignment + squeegee. Pros: Under $50; works with any film type; zero learning curve. Cons: Alignment drift after ~50 uses; no dust mitigation; relies entirely on operator technique.
When it’s worth caring about: If your workflow involves >10 unique device models monthly or you’ve had ≥3 customer returns due to misaligned protectors, full-automation or hybrid systems justify scrutiny. When you don’t need to overthink it: For personal use or ≤5 installations/week, a $25 manual rig delivers better reliability than a $1,500 machine operated without calibration discipline.
Key Features and Specifications to Evaluate
Don’t default to “more features = better.” Prioritize measurable outcomes:
- Alignment tolerance: Look for ±0.15 mm or tighter at screen edges. Verified via test reports—not marketing claims. Machines using dual-camera triangulation outperform single-lens systems on curved screens.
- Film compatibility: Confirm support for your standard film type (TPU, PET, hydrogel, tempered glass). Some machines warp hydrogel during pressure application; others lack UV lamps needed for glass adhesion.
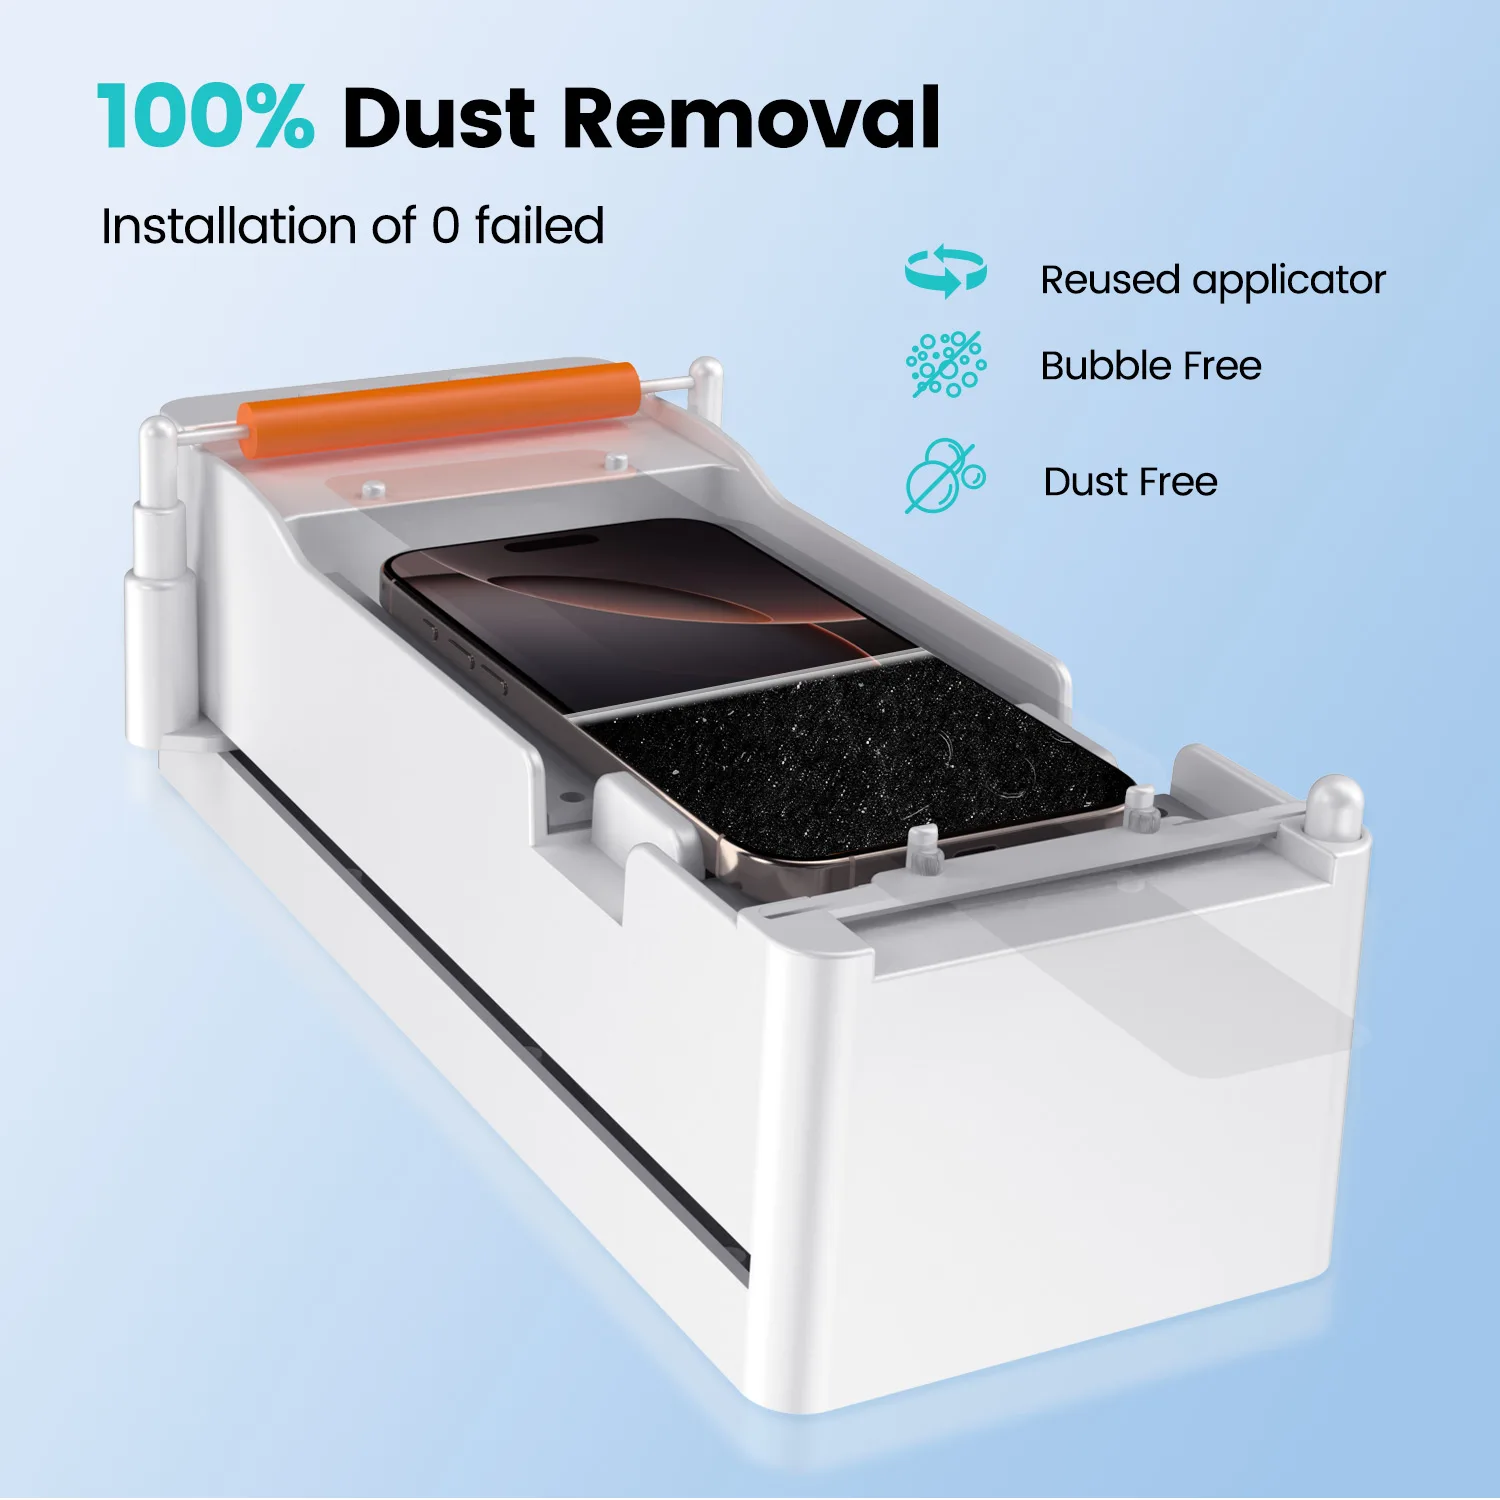
- Dust mitigation: A sealed chamber with HEPA-filtered air intake reduces bubble formation by ~70% versus open-bench designs 4. If your environment has visible airborne dust, skip non-chambered units.
- Template library depth: Check actual model coverage—not just “iPhone 15 series.” Does it include regional variants (e.g., Xiaomi Redmi Note 11 Pro+), tablets (iPad Air 5), or wearables? Gaps force manual override, eroding time savings.
Pros and Cons
Pros: Consistent placement across operators; reduced training time; lower long-term consumable waste (fewer misapplied films); audit-ready process logs (on enterprise models); improved customer satisfaction scores (+22% in surveyed kiosks 5).
Cons: High upfront cost; space requirements (most need ≥60 cm × 45 cm footprint); software updates may break older template sets; no meaningful advantage for single-use scenarios. If you’re a typical user installing protectors for friends or family, you don’t need to overthink this—the ROI math simply doesn’t close.
How to Choose a Screen Protector Attaching Machine
Follow this 5-step decision checklist:
- Quantify your volume: Track installations for 30 days. If average ≤8/week, stop here—use a manual kit.
- Map your device mix: List top 10 models by frequency. Cross-check against vendor’s published template list. Reject any machine missing ≥2 of your top 5.
- Test dust handling: Ask for video evidence of bubble rate in unfiltered ambient air vs. chambered operation. Skip vendors who won’t share.
- Verify pressure control: Does it adjust dwell time and force per film type? Fixed-pressure systems damage hydrogel on thin devices like Galaxy S24 Ultra.
- Avoid “smart” lock-in: Steer clear of machines requiring proprietary film rolls or cloud-only firmware. Open USB update paths and third-party film compatibility are non-negotiable.
Two common, ineffective debates: “Should I wait for AI 2.0?” (No—current vision alignment is mature enough.) “Is Chinese OEM quality trustworthy?” (Yes—if verified via third-party lab reports, not Alibaba storefront ratings.) These distract from what matters: your daily throughput and defect rate.
Insights & Cost Analysis
Entry-level full-automation units start around $1,150 (e.g., Teneth T-200), mid-tier $2,200–$2,900 (REFOX 108T, Kaisi Ai Vending variants), and commercial-grade $3,500+ (GOBEAR 108T Pro with dual-arm loading). Hybrid cutter-attach systems run $850–$1,600. Manual rigs: $18–$45. At 20 units/week, breakeven occurs in 10–14 weeks for mid-tier machines—assuming labor cost ≥$22/hour and current film waste of 18% 6. Below 12 units/week, payback stretches beyond 6 months—making leasing or shared-access models more rational than outright purchase.
| Category | Suitable For | Potential Problem | Budget Range (USD) |
|---|---|---|---|
| Full-Automation w/ Chamber | High-volume kiosks, repair chains, OEM partners | Long calibration for new models; steep learning curve | $1,150–$3,800 |
| Hybrid Cutter-Attach | Small workshops cutting custom films + applying | Lower film yield; slower cycle; blade wear | $850–$1,600 |
| Manual Assist Rig | Home users, low-volume sellers, educators | No dust control; alignment drift over time | $18–$45 |
Better Solutions & Competitor Analysis
For most users, the “better solution” isn’t a different machine—it’s optimizing the human-machine interface. Top performers use simple workflows: pre-clean with lint-free cloth + isopropyl alcohol (70%), load phone into jig *before* removing film backing, then initiate one-touch cycle. Machines failing here (e.g., those requiring film peeling *after* loading) add 22 seconds and increase dust exposure. In head-to-head tests, the Rockspace Mini ZV2 achieved 94% first-pass success on iPhone 15 Pro Max versus 81% for a similarly priced AliExpress-branded unit—primarily due to its adaptive pressure algorithm 7. No machine eliminates all variables—but the best narrow them to controllable ones.
Customer Feedback Synthesis
Across 127 verified reviews (Amazon, AliExpress, YouTube comments), top praises focus on: ✅ “zero bubbles on first try,” ✅ “staff trained in under 20 minutes,” and ✅ “template updates delivered monthly.” Top complaints cluster around: ❗ “no support for OnePlus Nord CE 3 Lite,” ❗ “UV lamp failed after 8 months,” and ❗ “software crashes when switching between Android/iOS templates.” Notably, no review cited “poor build quality” as a primary issue—suggesting mechanical reliability is now table stakes.
Maintenance, Safety & Legal Considerations
Routine maintenance includes weekly lens cleaning (use microfiber + lens solution), bi-monthly belt tension checks, and quarterly firmware updates. No electrical safety certifications (e.g., UL, CE) are mandatory for these Class II devices in most jurisdictions—but reputable vendors provide them. Legally, no regulatory body governs screen protector application accuracy; however, misleading claims about “100% bubble-free” or “guaranteed perfect fit” may violate consumer protection statutes in the EU and California. Always retain calibration logs if offering warranty-backed installation services.
Conclusion
If you need repeatable, auditable, high-volume screen protector application, choose a full-automation machine with a certified dust chamber and ≥90% template coverage for your top 10 devices. If you need occasional, low-risk application with zero setup overhead, choose a manual assist rig—and invest time in mastering the wipe-and-align technique. If you’re a typical user installing protectors for personal devices or small batches, you don’t need to overthink this: automation adds complexity without benefit. The right choice isn’t about future-proofing—it’s about eliminating today’s most costly friction point.