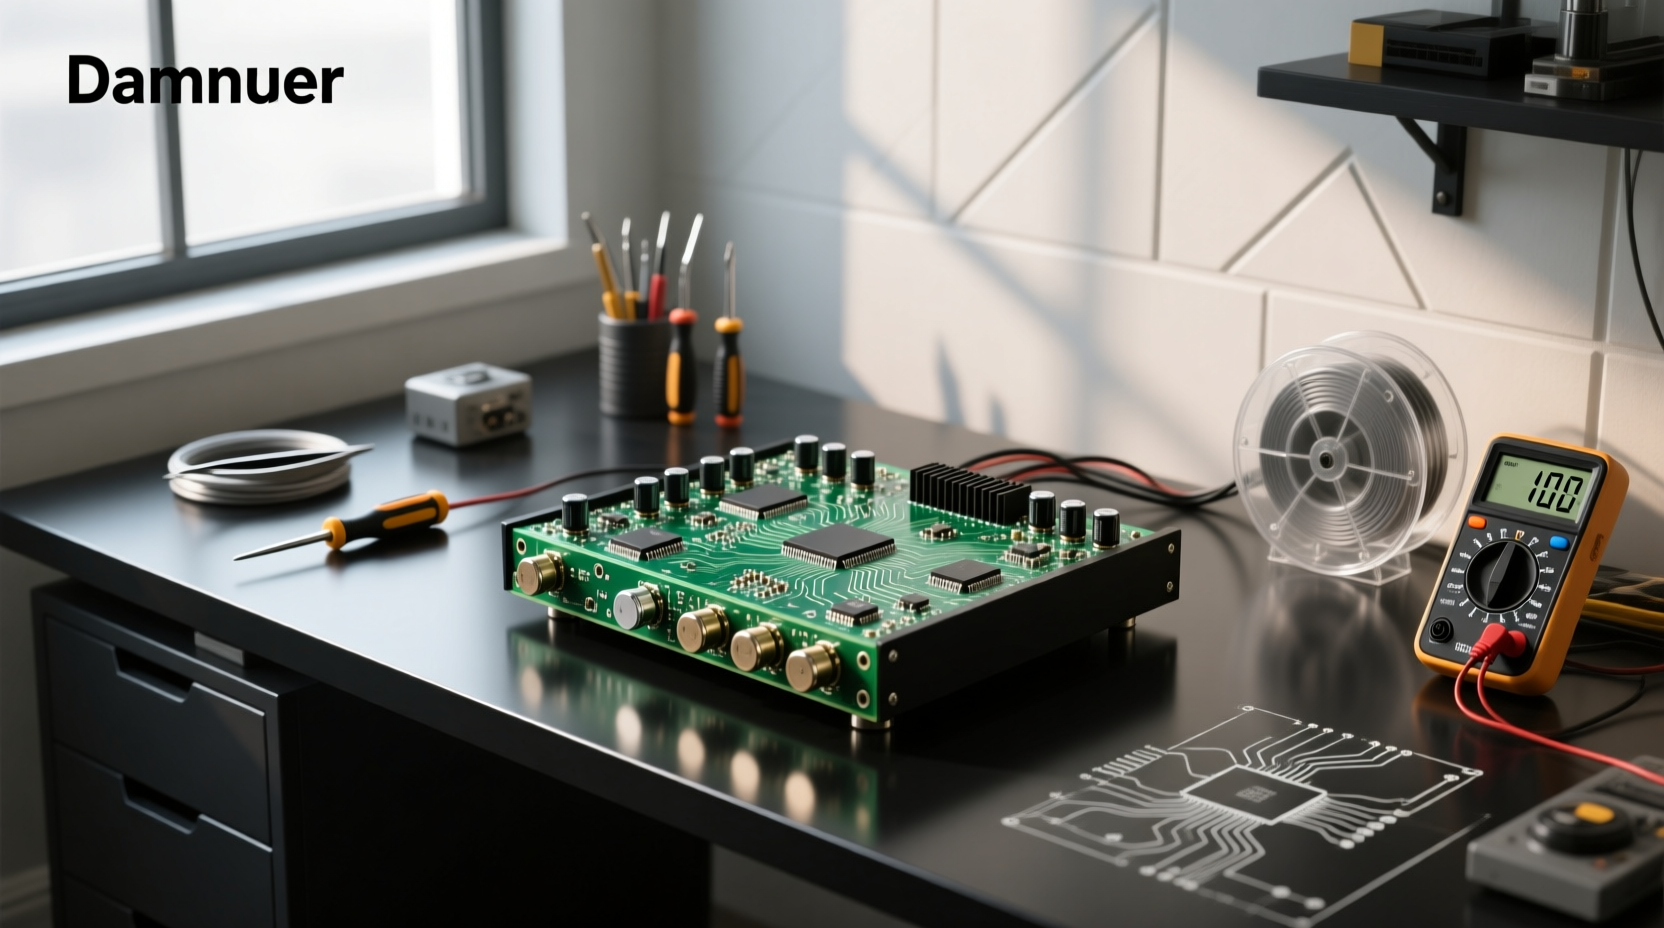
Choosing the right 12V amplifier board isn’t about chasing headline wattage — it’s about matching your power supply, speaker impedance, thermal environment, and signal chain to a board whose datasheet specs reflect real-world performance. In this guide, we cut through misleading marketing (e.g., "1000W" on a 12V mono board with no heatsink or current headroom) and focus on what actually matters: continuous RMS output at 12V DC, IC thermal derating behavior, input sensitivity, protection circuitry, and PCB trace integrity. You’ll learn how to verify whether a $5 TPA3116D2 board delivers true 45W per channel into 4Ω at 12V — or just peaks before thermal shutdown — and why some boards labeled "12V" require 13.8V minimum to operate cleanly. This is the only objective, measurement-grounded comparison you need before soldering, wiring, or powering up.
Why 12V Amplifier Boards Are Unique — and Why That Matters
Unlike line-powered amplifiers, 12V amplifier boards operate under strict voltage and current constraints. A nominal 12V automotive or portable battery typically sags to 11.2–11.8V under load; many boards rated “12–24V” perform poorly below 12.5V. This isn’t theoretical — it directly impacts dynamic headroom, bass response, and distortion. For example, the TPA3116D2 IC delivers ~50W × 2 into 4Ω at 12V only with ideal conditions: 25°C ambient, oversized heatsink, clean 12.5V input, and 10% THD. At 1% THD (audibly cleaner), real-world output drops to ~32–38W per channel 1. Boards omitting heatsink mounting provisions or using undersized copper pours will clip earlier and thermally throttle within 60 seconds of moderate volume.
Key ICs Used in 12V Amplifier Boards — Performance & Trade-offs
Most consumer-grade 12V amplifier boards use one of five IC families. Each has distinct voltage, efficiency, and fidelity characteristics:
- TPA3116D2 / TPA3116DA: Class-D, 12–24V input, up to 100W × 2 (peak, 10% THD). High efficiency (~90%), but sensitive to layout. Requires tight gate-drive traces and low-ESR bulk capacitors. Common in budget dual-channel boards — but many clones skip internal overtemperature protection or use counterfeit ICs 2.
- TDA7379: Quasi-class-AB, 12–24V, ~38W × 2 into 8Ω at 12V (10% THD). Lower efficiency (~65%), runs hotter, but more forgiving of marginal power supplies and less prone to RF interference. Often paired with AD828 preamp stages for better SNR — a key differentiator in quiet listening environments.
- PAM8610 / PAM8620: Low-cost Class-D, 8–26V, ~10W × 2. Designed for compact size and minimal external components. Ideal for battery-powered portable speakers — but lacks bass extension and clips easily above 70% volume without proper input attenuation.
- TDA7297: Dual monolithic, 6–18V, ~12W × 2 into 4Ω. Extremely robust, built-in short-circuit and thermal protection. Used in motorcycle audio and marine applications where voltage spikes and vibration are common — but not suited for high-SPL applications.
- LM386: Ultra-low-voltage (3–12V), 0.3–1W output. Found in educational kits and ultra-low-power monitoring systems. Not a substitute for any board requiring meaningful SPL — its gain is fixed and noise floor rises sharply above 12× gain.
Voltage Range Claims: What “12V” Really Means
The label “12V amplifier board” is often misleading. Many products list “DC 12V–24V”, yet their minimum operating voltage is 13.2V — meaning they won’t function reliably on a resting car battery (12.2–12.6V) or a partially discharged LiFePO₄ pack (12.8V nominal). Always check the absolute minimum supply voltage in the IC’s datasheet — not the seller’s listing. For instance:
- TPA3116D2: min 8.8V (but output collapses below 12V)
- TDA7379: min 6V, full spec compliance from 12V
- PAM8610: min 5.5V, stable down to 8V
A board that starts working at 10V may deliver only 20% of rated power at 12V due to internal rail regulation or insufficient headroom. If your project uses a lead-acid battery (which drops to 11.5V under load), prioritize ICs with flat output curves between 11.5–13.5V — not peak ratings at 14.4V.
Wattage Ratings: RMS vs. Peak vs. Marketing Fiction
Overstated power is the #1 source of buyer frustration. A board advertised as “1000W 12V mono” almost certainly refers to peak output under non-reproducible lab conditions — not continuous RMS. True RMS power at 12V is physically limited by Ohm’s Law: for a 4Ω load, maximum theoretical RMS power = V²/R = 144/4 = 36W. Even with switching efficiency gains, no single MOSFET-based Class-D stage can sustain >55W RMS per channel at 12V without massive heatsinking and >30A supply current. Boards claiming >100W × 2 at 12V either:
- Measure at 10% THD (audibly distorted),
- Use burst testing (100ms pulses), or
- Assume 24V input but mislabel the product.
Always ask: At what THD? Into what load? For how long? With what heatsink? If those details aren’t published — assume worst-case derating.
PCB Layout Quality: The Silent Failure Point
Two boards using identical ICs can behave completely differently due to PCB design. Critical layout factors include:
- Power plane copper weight: Budget boards use 1oz copper; reliable ones use ≥2oz. Thin traces between input caps and ICs cause voltage sag during transients — resulting in clipping on bass notes.
- Decoupling capacitor placement: Bulk electrolytics must be ≤10mm from IC power pins. Many $6 boards place them 25mm away — increasing ESR and enabling oscillation.
- Ground plane integrity: Split grounds (analog/digital/power) reduce noise. Boards without ground planes or with narrow ground traces suffer from crosstalk and motorboating.
- Heatsink interface: Does the board have thermal vias under the IC? Is the pad plated-through? Is there space for a 30mm × 30mm aluminum heatsink? If not, sustained output >15W per channel will trigger thermal shutdown.
You can inspect these features visually — no multimeter needed. Look for thick, uninterrupted copper pours near the amplifier IC, multiple thermal vias (small drilled holes filled with solder), and screw-mounting holes aligned with heatsink fins.
Input Options & Signal Integrity Pitfalls
Many 12V amplifier boards add Bluetooth, AUX, or USB decoding — but rarely disclose analog input stage quality. Key red flags:
- No input coupling capacitors → DC offset risk damaging speakers.
- Unbuffered potentiometer inputs → loading down source devices (e.g., smartphones).
- Missing RIAA equalization → unusable with phono cartridges.
- Shared ground between digital (Bluetooth) and analog sections → audible buzzing at 2kHz.
If your source is line-level (DAC, laptop, phone), verify the board’s input sensitivity (typically 200–500mV RMS) and whether it includes adjustable gain. A board with fixed 26dB gain will overload with a 2Vrms DAC output — causing harsh clipping even at low volume knob settings.
Cooling Requirements: When Passive Isn’t Enough
Class-D efficiency masks heat generation — but 20% loss at 50W output still means 10W dissipated as heat. Without active cooling or adequate heatsinking, surface temperatures exceed 100°C within minutes. Realistic thermal guidelines:
| IC Type | Max Continuous Output @12V | Min Heatsink Size (Aluminum) | Required Airflow |
|---|---|---|---|
| TPA3116D2 (dual) | 35W × 2 @ 1% THD | 100cm² × 20mm fin height | Natural convection OK |
| TDA7379 | 25W × 2 @ 1% THD | 60cm² × 15mm | Natural convection OK |
| PAM8610 | 8W × 2 | None (board-mounted) | None |
| 1000W mono claim | <60W RMS | ≥300cm² + fan | ≥2CFM forced air |
If your enclosure is sealed or mounted in a hot location (e.g., car trunk), halve the listed continuous output — or add a 12V DC fan triggered by a thermistor.
Protection Features: What’s Essential vs. Optional
Not all protection circuits are created equal. Verify these four functions exist — and how they’re implemented:
- Overtemperature shutdown: Should be IC-internal (not just a thermistor on the board). External sensors lag by 5–10 seconds — enough to damage MOSFETs.
- DC output protection: Detects >100mV DC at speaker terminals and cuts power in <100ms. Critical for preventing voice coil burnout.
- Short-circuit limiting: Must respond in <1µs. Slow fuses or polyfuses won’t protect MOSFETs during speaker wire shorts.
- Undervoltage lockout (UVLO): Prevents erratic operation below safe rail voltage — e.g., disabling output below 11.0V.
Boards omitting UVLO or DC protection are unsuitable for automotive use — voltage drops during cranking can send destructive DC offsets to tweeters.
When to Avoid a 12V Amplifier Board Altogether
Despite their convenience, 12V amplifier boards are inappropriate for several common scenarios:
- High-efficiency ribbon or planar magnetic speakers: These demand high-current, low-impedance drive — 12V boards lack slew rate and current delivery.
- Subwoofer-only applications below 40Hz: Most 12V boards roll off sharply below 50Hz due to bootstrap capacitor limitations. Dedicated sub amp modules (e.g., IRS2092-based) handle deep bass better.
- Multi-room distributed audio: 12V boards lack transformer isolation — running long speaker wires risks ground loops and noise injection.
- Studio monitoring: THD+N >0.1% and limited bandwidth (<20kHz ±1dB) make most budget boards unsuitable for critical listening.
If your use case falls into one of these categories, consider a 24V or 48V platform — or a purpose-built amplifier module with verified measurements.
How to Test a 12V Amplifier Board Before Deployment
Don’t trust seller specs. Perform these three quick checks:
- Idle current test: With no input signal, measure current draw at 12.0V. >150mA suggests poor biasing or leakage — expect higher noise and heat.
- Clipping threshold test: Feed a 1kHz sine wave at 300mV RMS. Increase volume until oscilloscope shows flat-topping. Note voltage — calculate power: P = V²/R. Compare to claimed RMS.
- Thermal soak test: Run 50Hz/500Hz tones at 70% volume for 10 minutes. Touch the IC — if too hot to hold (>70°C), output is thermally limited.
These tests require only a bench power supply, multimeter, and smartphone tone generator app — no expensive gear needed.
Frequently Asked Questions
- Can I run a 12V amplifier board on a 12V lithium battery?
- Yes — but only if the battery’s loaded voltage stays ≥12.5V. LiFePO₄ holds ~13.2–13.4V when charged; standard Li-ion drops to 11.5V at 20% SOC. Monitor voltage under load — not at rest.
- Why does my 12V amplifier board buzz when I plug in USB or Bluetooth?
- Ground loop or shared power rail noise. Use a separate 12V regulator for digital sections, or add a 10µF low-ESR capacitor across the digital IC’s VCC/GND pins.
- Do I need a preamp before a 12V amplifier board?
- Only if your source outputs <200mV (e.g., moving magnet cartridge, some guitar pickups). Line-level sources (DACs, phones, laptops) connect directly — adding a preamp increases noise and distortion.
- Can I bridge two channels of a 12V stereo board for mono output?
- Rarely advisable. Most dual-channel boards lack bridged-tied-load (BTL) mode support. Attempting to wire outputs in anti-phase risks IC destruction. Use a dedicated mono board instead.
- What’s the maximum speaker impedance for a 12V amplifier board?
- Check the IC datasheet. TPA3116D2 supports up to 16Ω; TDA7379 maxes at 8Ω. Higher impedance reduces power but improves stability — never use <4Ω unless explicitly rated.