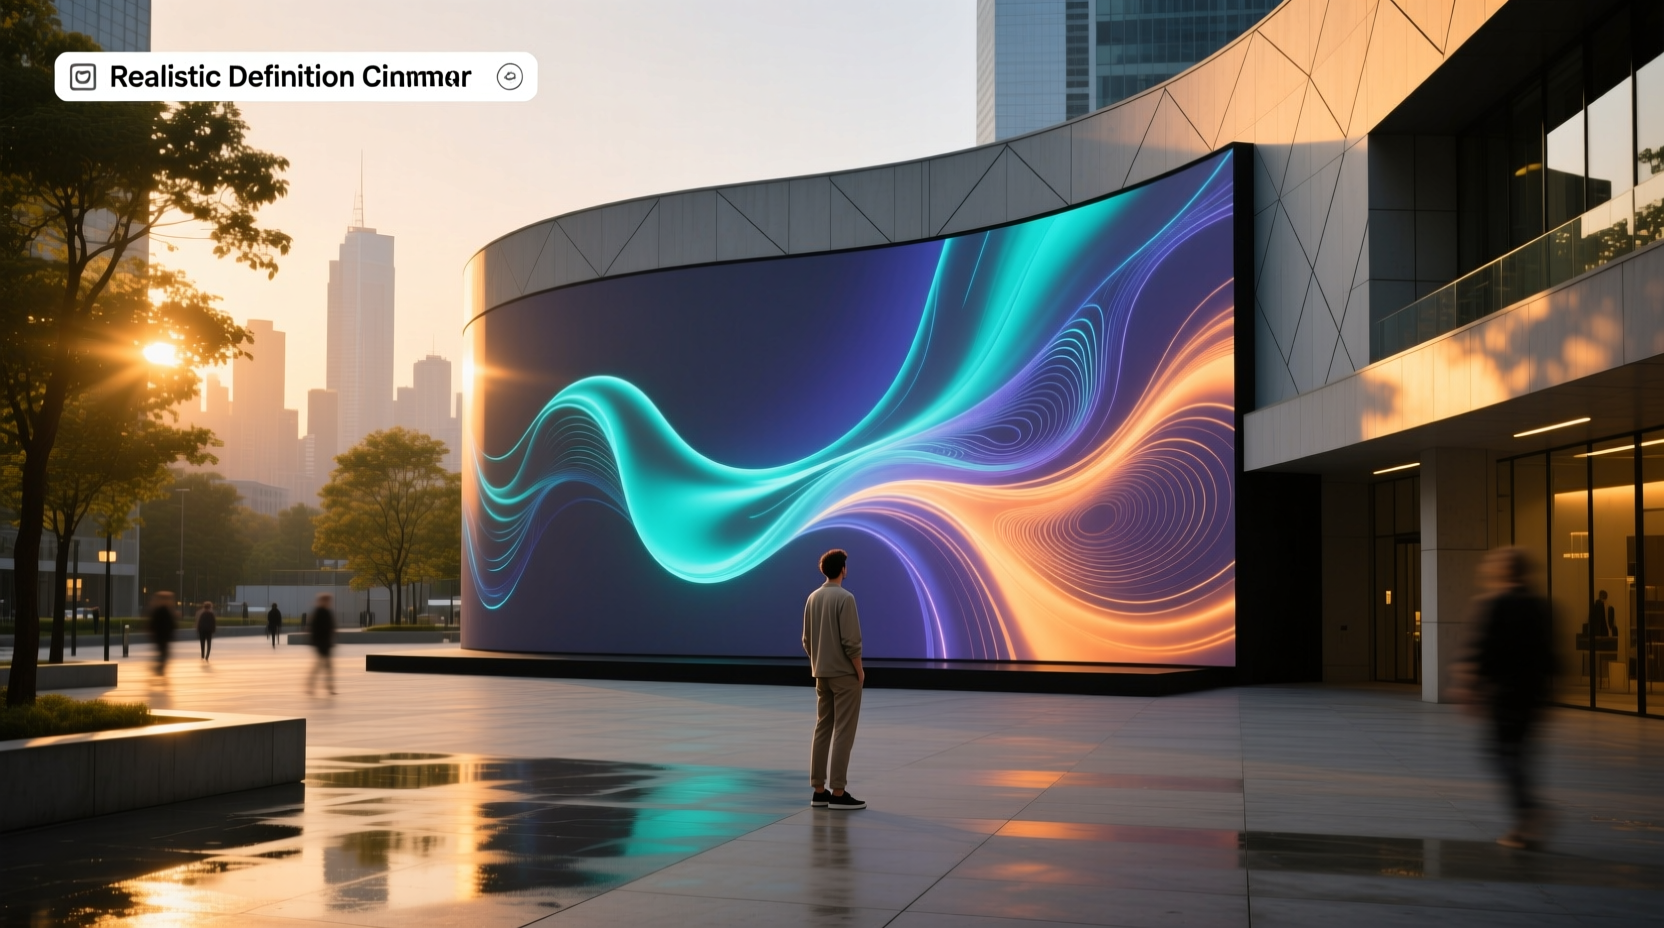
Projection mapping (also called video mapping or spatial augmented reality) is a proven, widely deployed technique—not sci-fi—but success depends entirely on matching hardware, software, and process to your specific surface, environment, and goals. Whether you’re projecting onto a brick façade at night, a sculpted stage prop indoors, or your living room wall, the core workflow remains consistent: capture geometry → align digital content → warp and blend output → calibrate in situ. In this guide, we detail exactly what equipment works (and what doesn’t), which software fits each use case—not just popularity—how ambient light and surface texture affect results, and why ‘a normal projector’ often fails outside dim rooms 1. We also clarify common misconceptions—like assuming AI-generated facades eliminate manual alignment—and provide actionable benchmarks for brightness, resolution, and latency so you invest wisely, not experimentally.
What Is Projection Mapping—And Why Does It Matter?
Projection mapping transforms irregular, three-dimensional physical objects—buildings, vehicles, sculptures, furniture—into dynamic display surfaces by precisely warping projected video to match their contours. Unlike flat-screen projection, it requires geometric registration: measuring real-world depth, angles, occlusions, and material reflectivity to ensure pixels land where intended 2. The result isn’t illusion—it’s spatial fidelity. When executed correctly, shadows fall naturally, motion tracks surface curves, and seams between projectors disappear. Its value lies in context-aware immersion: a museum exhibit that animates cracks in historic stone, a concert stage where light ‘flows’ over performers’ costumes, or retail signage that responds to foot traffic. But this fidelity demands deliberate technical choices—not just creative ones.
The 3 Non-Negotiable Hardware Components
You cannot skip or substitute these three elements without compromising alignment, brightness, or stability:
🖥️ Projector: Lumens, Throw Ratio, and Lens Flexibility
Brightness (measured in ANSI lumens) is the single most misjudged spec. A 2,000-lumen projector may suffice in a blacked-out basement but will wash out completely on a sunlit exterior wall—even at dusk. For outdoor architectural mapping, industry practice starts at 4,000–6,000+ lumens, with high-end installations using 15,000–30,000-lumen laser phosphor units 3. Indoor stages or galleries typically require 3,000–5,000 lumens. Resolution matters less than uniformity: native 1080p is sufficient for most mid-scale work, but 4K adds headroom for cropping, zooming, and multi-projector edge blending. Crucially, throw ratio determines placement flexibility. Short-throw (0.4–0.6) or ultra-short-throw (UST) lenses let you project large images from inches away—ideal for confined spaces like classrooms or retail windows. Standard-throw projectors (1.2–3.0) need distance, making them suitable for building façades but vulnerable to obstruction and ambient light spill. Always verify lens shift capability: vertical/horizontal shift lets you reposition the image without keystone correction—which degrades sharpness and color accuracy.
💻 Computer: GPU, RAM, and Real-Time Stability
Your computer isn’t just a playback device—it’s the real-time rendering engine. Projection mapping software (e.g., MadMapper, Resolume Arena, TouchDesigner) processes geometry warping, pixel-perfect masking, and live video input simultaneously. Minimum specs: Intel Core i7 or AMD Ryzen 7 CPU, 16 GB RAM, and a dedicated GPU with ≥4 GB VRAM (NVIDIA RTX 3060 or equivalent). Integrated graphics (Intel Iris Xe, AMD Radeon Graphics) struggle with multi-layer compositing and 60 fps output—causing stutter, dropped frames, or software crashes during live shows. Also critical: output timing precision. Use DisplayPort 1.4 or HDMI 2.0+ with GPU-controlled frame pacing. USB-C or wireless streaming introduces unpredictable latency and sync drift—unacceptable for music-synced VJing or interactive installations.
📷 Camera or Scanner: Geometry Capture, Not Just Photos
‘Taking a photo’ of your target surface is only step one. Accurate mapping requires geometric data—depth, scale, and perspective distortion—not just texture. For simple façades, a DSLR or mirrorless camera with a fixed focal length (e.g., 24mm or 35mm prime lens) captures clean reference images from the projector’s exact location. For complex organic shapes (e.g., statues, curved walls), photogrammetry apps (like Meshroom or RealityCapture) stitch multiple overlapping photos into a textured 3D mesh. LIDAR scanners (iPhone Pro, iPad Pro, or professional units like FARO Focus) generate millimeter-accurate point clouds—essential for large-scale architecture or heritage preservation projects. Never rely solely on smartphone auto-focus or wide-angle distortion; they warp straight lines and obscure true scale.
Software: Matching Tool to Task—Not Just Popularity
Software choice directly impacts workflow speed, interactivity depth, and output reliability. Below is a functional comparison—not a ranking—based on documented capabilities and user-reported stability:
| Software | Best For | Key Strength | Licensing Model | Hardware Dependency |
|---|---|---|---|---|
| HeavyM | Beginners, live events, quick-turn installations | Drag-and-drop masking, built-in effects library, no coding required | Subscription or perpetual license | Low—runs on mid-tier laptops |
| MadMapper | Architectural mapping, multi-projector blends, precise warping | Intuitive polygon-based mapping, robust DMX/OSC control, stable long-run playback | Perpetual license + annual maintenance | Moderate—requires discrete GPU |
| Resolume Arena | VJing, music-responsive visuals, live performance | Real-time layer compositing, audio-reactive triggers, MIDI/DMX integration | Subscription or perpetual license | High—demands powerful GPU and low-latency audio interface |
| TouchDesigner | Interactive, sensor-driven, generative installations | Node-based visual programming, real-time 3D rendering, custom logic scripting | Free non-commercial license; commercial license required | Very high—requires top-tier CPU/GPU and technical expertise |
Note: ‘AI-assisted mapping’ tools (e.g., LumaMap) accelerate initial alignment by generating approximate masks from photos—but they do not replace manual refinement. All tested tools still require user-defined edge adjustments, gamma calibration per surface zone, and physical test projection to verify pixel placement. No software compensates for poor projector focus, lens flare, or reflective hotspots on glass or metal 4.
Ambient Light & Surface Realities: Where Theory Meets Physics
Two environmental factors override even the best gear: ambient light and surface material.
☀️ Ambient Light: It’s Not Just About Darkness
It’s about contrast ratio. A 5,000-lumen projector on a white wall under 100 lux indoor lighting delivers ~50:1 contrast—barely legible text. At 10 lux (dimmed gallery), contrast jumps to ~500:1. Outdoors at civil twilight (~10 lux), the same unit achieves vivid results; at full daylight (>10,000 lux), even 30,000 lumens yield washed-out color. Solution: Use high-gain screens (0.8–1.3 gain) for controlled venues, or schedule outdoor projections strictly during astronomical twilight (30–60 minutes after sunset/before sunrise). Avoid relying on ‘daylight-viewable’ marketing claims—no projector defeats direct sunlight.
🧱 Surface Material: Reflectivity Dictates Everything
White stucco reflects ~85% of light; raw brick reflects ~25%; black granite reflects ~5%. Glossy paint creates hotspots; matte finishes scatter light evenly. Highly absorptive or textured surfaces (e.g., weathered wood, corrugated metal) require higher lumen density and tighter focus. Test first: project a grayscale ramp (0–100% white) onto your surface at operating distance. If mid-tones vanish or highlights bloom, adjust gamma in software—or reconsider surface prep (e.g., temporary matte projection coating).
Step-by-Step Workflow: From Setup to Stable Output
A repeatable, verified sequence prevents wasted time:
- Site Survey: Measure projector distance, mounting height, and surface dimensions. Note obstructions (trees, poles, windows).
- Geometry Capture: Shoot reference photos from projector position using tripod + level. Capture at least 3 angles if surface has depth.
- Content Prep: Render assets at native projector resolution. Avoid scaling up—pixelation becomes visible at close viewing.
- Initial Mapping: Import photos into software. Draw polygons around key features (e.g., windows, doors, edges). Assign media layers.
- Physical Calibration: Project grid pattern. Adjust warp points until grid lines align with physical edges. Verify with tape measure.
- Color & Gamma Tuning: Use a colorimeter (e.g., X-Rite i1Display Pro) to match white point and gamma across zones—critical for multi-projector blends.
- Run Time Test: Play full sequence for ≥60 minutes. Monitor GPU/CPU temp, fan noise, and frame drop rate.
Common Pitfalls—and How to Avoid Them
- Assuming ‘plug-and-play’ works: Even ‘beginner’ software requires understanding of coordinate systems, aspect ratios, and output timing. Allocate ≥8 hours for first full workflow.
- Ignoring lens shift limits: Overusing digital keystone correction causes soft edges and color fringing. If your projector lacks optical shift, reposition it physically—even if it means mounting brackets or rigging.
- Using consumer-grade HDMI cables: Long runs (>5m) without active repeaters cause signal dropouts. Use certified Premium High Speed HDMI cables with Ethernet.
- Skipping gamma calibration: Unmatched gamma between projectors creates visible brightness bands. Always calibrate per unit, not per software preset.
Frequently Asked Questions (FAQ)
- Can I do projection mapping with a standard home theater projector?
Yes—if used indoors in controlled lighting and on a cooperative surface (e.g., white wall, projection screen). For outdoor, architectural, or interactive use, brightness, lens flexibility, and thermal stability become limiting factors. - Is TouchDesigner necessary for interactive mapping?
No. Many interactive effects (motion-triggered playback, basic sensor input) work in Resolume Arena or MadMapper with OSC/MIDI. TouchDesigner is needed only for custom real-time algorithms or complex 3D physics. - Do I need a 3D model to map a building?
Not always. Photo-based mapping suffices for façades with minimal depth. However, for concave surfaces, overhangs, or multi-level structures, a photogrammetry-derived mesh ensures accurate occlusion handling and shadow casting. - How many projectors can I blend seamlessly?
Technically unlimited—but practical limits are set by alignment precision and color matching. Most stable multi-projector setups use 2–4 units. Beyond that, automated edge-blending hardware (e.g., disguise rx, Christie Mystique) is recommended over software-only solutions. - Why does my mapped video look distorted on the actual surface?
Most often due to mismatched projector lens profile in software, incorrect geometry capture angle, or uncorrected surface curvature. Re-check lens settings, re-shoot reference photos from exact projector position, and verify surface flatness with a laser level.