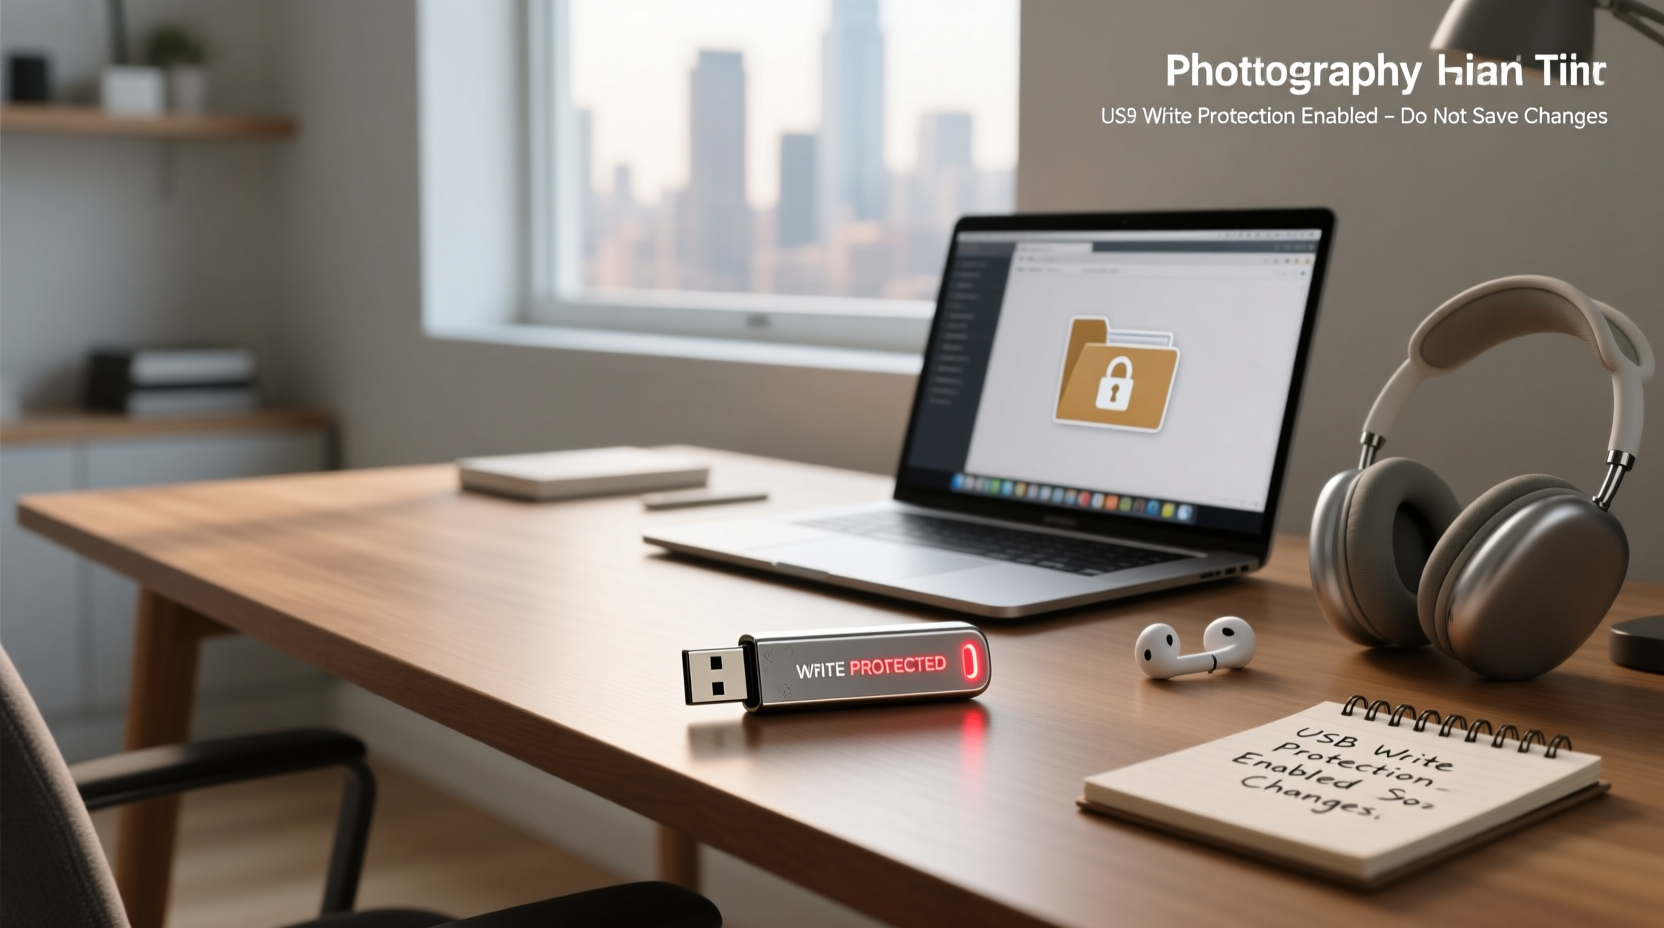
✅ If your USB flash disk displays "The disk is write protected" — the most likely causes are a physical lock switch, Windows Registry setting, corrupted file system, or end-of-life hardware failure. This guide walks you through all verified, step-by-step fixes (including diskpart attributes disk clear readonly, Registry edits, and troubleshooting for FAT32 formatting issues), plus how to tell whether your drive is truly failing — so you can recover data or retire it safely.
Why Your USB Flash Disk Shows "Write Protected" (And What It Really Means)
A "write protected" message on a USB flash disk isn’t an error code — it’s a state. Windows or the drive’s firmware has actively blocked write operations (copying, deleting, formatting) to protect data integrity. Unlike optical media with permanent write-protection layers, USB flash drives don’t have standardized hardware-level write locks — but they do implement safeguards that mimic them1. Understanding this distinction is critical: what appears to be a software glitch may actually signal irreversible hardware degradation.
This behavior arises from three primary categories:
- 🔧 Physical intervention: A mechanical slider or micro-switch on select models (e.g., older SanDisk Cruzer, some Kingston DataTraveler variants).
- ⚙️ Software enforcement: OS-level policies (Windows Registry
WriteProtectkey, Group Policy restrictions), file system flags, or third-party encryption tools. - 🔒 Firmware-level read-only mode: The most serious cause — NAND flash wear-out triggers controller-level fail-safe logic, locking the drive to prevent further corruption2.
Crucially, no mainstream consumer USB flash drive includes a user-accessible hardware write-protect circuit. As confirmed by r/techsupport: "USB drives don’t have a write protect mode" — the message reflects either external configuration or internal failure response1. This means every "fix" must first rule out hardware collapse before attempting software remedies.
Step-by-Step Fixes — Ranked by Likelihood & Safety
Always begin with the safest, fastest checks. Never skip Step 1 — it resolves ~15% of cases instantly and requires zero technical skill.
🔍 Step 1: Inspect for a Physical Lock Switch
Some USB drives — especially those designed for enterprise or rugged use — include a tiny sliding switch near the connector or on the casing. Common locations include:
- Along the side edge (near the USB-A plug)
- Under a removable cap or rubberized grip panel
- On the rear face, adjacent to the LED indicator
If present, slide it fully toward the “unlock” icon (often an open padlock 🗝️ or unlatched bracket). Reinsert the drive and test with a simple file copy. Note: Most modern consumer USB drives (2018–2025) omit this feature entirely — so absence doesn’t indicate malfunction.
🛠️ Step 2: Clear Read-Only Attribute Using Diskpart (Windows)
This is the most universally effective software-level fix for Windows users. It directly modifies the disk’s attribute flag — bypassing file-level permissions and registry settings.
- Press Win + X → Select Terminal (Admin) or Command Prompt (Admin).
- Type
diskpartand press Enter. - Type
list diskand press Enter. Identify your USB drive by size (e.g., Disk 1 — 64 GB). Double-check the number — selecting the wrong disk can erase your system drive. - Type
select disk 1(replace1with your drive’s number) and press Enter. - Type
attributes disk clear readonlyand press Enter. You’ll see "Disk attributes cleared successfully." - Type
exitand close the window.
Test immediately: try creating a new folder or pasting a small text file. If successful, proceed to format if needed. If not, move to Step 3. Warning: Diskpart does not repair file system corruption — only removes the read-only flag.
⚙️ Step 3: Modify the Windows Registry (WriteProtect Key)
This addresses cases where group policy or legacy software has enforced system-wide USB write blocking — common in corporate-managed devices or after malware cleanup.
- Press Win + R, type
regedit, press Enter. - Navigate to:
HKEY_LOCAL_MACHINE\\SYSTEM\\CurrentControlSet\\Control\\StorageDevicePolicies - If the
StorageDevicePolicieskey doesn’t exist, right-clickControl→ New → Key, name itStorageDevicePolicies. - Inside
StorageDevicePolicies, right-click → New → DWORD (32-bit) Value, name itWriteProtect. - Double-click
WriteProtect, set Value data to0, click OK. - Restart your PC.
⚠️ Caution: Incorrect Registry edits can destabilize Windows. Always back up the key before modifying (File → Export). This method only works if the key was previously set to 1; it won’t override hardware-level protection.
📁 Step 4: Format Using Alternative Tools (When Windows Explorer Fails)
If Windows File Explorer refuses to format (“The disk is write protected”), try these proven alternatives — each handles low-level formatting differently:
- DiskGenius Free Edition: Supports FAT32, exFAT, NTFS; includes “Rebuild MBR” and “Check Partition” tools to detect bad sectors3.
- Rufus: Primarily for bootable media, but its “DD Image Mode” performs raw sector writes — sometimes bypassing controller-level blocks.
- HP USB Disk Storage Format Tool (legacy): Still functional on Windows 10/11 for basic FAT32 formatting; avoids Windows’ built-in write-protection checks.
Important: Formatting erases all data. If files are valuable, attempt recovery before formatting using tools like PhotoRec (open-source, cross-platform) or Recuva (Windows). Never write new data to the drive until recovery is complete.
Why You Can’t Format to FAT32 — And How to Solve It
The “Why can’t I format my USB to FAT32?” question (from Google’s People Also Ask) is tightly linked to write protection. Windows limits FAT32 formatting to drives ≤32 GB via GUI — but more critically, a write-protected state prevents any format operation, regardless of file system choice.
To force FAT32 on larger drives:
- Use
format /FS:FAT32in Command Prompt (Admin):format G: /FS:FAT32 /Q /V:"MyDrive"(replaceG:with your drive letter) - Use Rufus: Select device → choose “FAT32” under File System → click START.
- Use DiskGenius: Right-click partition → “Format Current Partition” → select FAT32 → confirm.
If all fail, the drive is almost certainly in firmware-enforced read-only mode — not a limitation of Windows or tool selection.
When No Fix Works: Recognizing Hardware Failure
If Diskpart reports “No disks match the specified criteria”, Registry edits have no effect, and third-party tools hang or return “access denied”, your USB flash disk is likely experiencing NAND flash wear-out. Here’s how to verify:
- Consistent behavior across OSes: Try the drive on macOS (Disk Utility → First Aid) or Linux (
sudo fdisk -l+sudo dmesg | tail). If all report “read-only filesystem” or “I/O error”, hardware is compromised. - Abnormal thermal signature: After 30 seconds of connection, gently touch the drive casing. Excessive heat (>45°C) suggests controller overheating — a sign of failing components.
- SMART data (if supported): Use CrystalDiskInfo (Windows) or smartctl (Linux) to query USB-attached storage. Look for Media Wearout Indicator, Reallocated Sector Count, or UDMA CRC Error Count. Values below 10% or increasing errors confirm degradation.
💡 Key insight: USB flash memory has finite program/erase cycles (typically 3,000–10,000 per block). When cells degrade, the controller remaps them — until spare area is exhausted. At that point, it enforces read-only mode to preserve existing data. This is not a bug — it’s intentional design for data safety.
Security Policies & Corporate Environments
In managed business environments, write protection often stems from Group Policy Objects (GPOs) — not the drive itself. Symptoms include:
- Write protection occurs only on company laptops, not personal devices.
- Other USB storage devices behave identically.
- Error persists even after Registry edits and Diskpart.
Solutions require administrative access or IT support:
- Run
gpresult /H gpreport.htmlto generate a Group Policy report and search for “Removable Storage Access” or “Prevent installation of removable devices”. - Check Local Group Policy Editor (
gpedit.msc) → Computer Configuration → Administrative Templates → System → Removable Storage Access. Ensure “All Removable Storage classes: Deny all access” is set to Not Configured or Disabled.
⚠️ Do not attempt workarounds on corporate devices without authorization — policy violations may trigger security alerts or device quarantine.
Common Misconceptions — What Doesn’t Work (And Why)
Many online “solutions” waste time or risk data loss. Verified ineffective methods include:
- Formatting via Android phone: Most Android OTG implementations lack low-level formatting capability and will simply show “read-only” or refuse mounting.
- Using antivirus scans alone: While malware can set Registry keys, scanning won’t reset the
WriteProtectvalue or clear disk attributes — manual intervention is required. - “Registry cleaners” or “USB repair utilities”: These tools rarely address the root cause and may corrupt system files. Stick to native tools (Diskpart, regedit) or reputable open-source utilities (PhotoRec, Rufus).
- Freezing or heating the drive: A dangerous myth. Temperature extremes damage NAND flash and solder joints — never apply.
Prevention & Best Practices for Longevity
While you can’t prevent NAND wear, you can delay read-only failure:
- Eject properly: Always use “Safely Remove Hardware” — abrupt disconnection increases write-cache corruption risk.
- Avoid constant small writes: Logging applications, browser caches, or auto-save features accelerate wear. Use USB drives for transfer — not active working storage.
- Enable write caching selectively: In Device Manager → USB drive properties → Policies tab → choose “Better performance” only if you always eject properly. “Quick removal” reduces risk but slows transfers.
- Monitor usage: Tools like USBDeview (NirSoft) log connect/disconnect history — sudden dropouts or repeated “device not recognized” events precede full failure.
Frequently Asked Questions (FAQ)
- Can I recover data from a write-protected USB flash disk?
Yes — as long as the drive mounts and reads normally, use read-only recovery tools like PhotoRec (cross-platform, free) or Recuva (Windows). Do not run chkdsk or attempt writes during recovery. - Does formatting remove write protection permanently?
No — formatting only resets the file system. If the underlying cause is Registry, Group Policy, or hardware failure, the protection will reappear immediately after formatting. - Is there a way to check if my USB drive is fake or counterfeit?
Yes. Use H2testw (Windows) or F3 (macOS/Linux) to verify actual capacity. Counterfeit drives often report false size and fail under real-world write loads — triggering premature read-only states. - Why does my USB work fine on one computer but shows write protection on another?
This strongly indicates OS-level enforcement (Registry, Group Policy, or driver conflict) rather than drive failure. Compare Windows versions, security software, and domain membership between machines. - Can I disable write protection on a USB drive permanently?
Only if the cause is software-based and you control the environment (e.g., disabling the Registry key or Group Policy). Hardware-level read-only mode is irreversible — the drive should be retired.