If you’re a typical user, you don’t need to overthink this. For most people applying protectors at home or in small-volume shops, a manual alignment tray ($15–$35) delivers reliable results—especially with flat or mildly curved screens. But if you’re installing on foldables or curved OLEDs daily—or running an on-demand kiosk—you’ll need vacuum-assisted lamination (65+ kPa) or integrated cutting+applying systems ($250–$800+). Over the past year, demand has shifted sharply: retailers now prioritize dust-free, zero-bubble consistency over speed alone, driven by rising complaints about trapped particles and misalignment on flagship devices 12. This guide cuts through noise to show exactly which features move the needle—and which ones rarely matter in practice.
About Screen Protector Applicator Machines
A screen protector applicator machine is a dedicated tool that positions, aligns, and bonds screen protection films—tempered glass, hydrogel, or PET—to smartphone, tablet, or wearable displays. Unlike DIY kits with sticky tabs or wet-application sponges, these machines use mechanical guides, vacuum suction, UV curing, or precision cutting to achieve repeatable, bubble-free installation. They’re used across three primary contexts:
- 📱 DIY consumers: Home users applying protectors once every 6–12 months, often on flagship iPhones or Samsung Galaxy models.
- 🛠️ Repair technicians: Small shops handling 5–30 devices/day, where consistency and time-per-unit directly affect labor cost.
- 🏪 Retail kiosks & service counters: On-demand stations (e.g., carrier stores, mall booths) offering instant fit-to-model application—no pre-cut inventory required.
If you’re a typical user, you don’t need to overthink this. Most home users never encounter curvature-related adhesion failure—and manual trays handle 90% of current device profiles without issue 3.
Why Screen Protector Applicator Machines Are Gaining Popularity
Lately, adoption has accelerated—not because users want “more tech,” but because display complexity outpaced manual methods. Curved edges (e.g., iPhone 15 Pro Max, Galaxy S24 Ultra) and foldable hinges introduce micro-gaps where air pockets form. Traditional wet-installation fails here: surface tension can’t overcome geometry. Meanwhile, consumer expectations rose: 73% of surveyed buyers cite “no visible bubbles or dust” as non-negotiable 1. Retailers responded by retiring bulk inventories of pre-cut glass—replacing them with intelligent on-demand systems that cut and apply in under 90 seconds per device 2. This isn’t about automation for its own sake. It’s about eliminating the single biggest complaint: “I wiped it clean—but dust still got under the edge.”
Approaches and Differences
Three categories dominate the market—each solving distinct problems:
| Category | Best For | Key Features | Price Range |
|---|---|---|---|
| Manual Trays | DIY / Low-Volume | Portable, zero power, alignment tabs, reusable silicone pads | $15 – $35 |
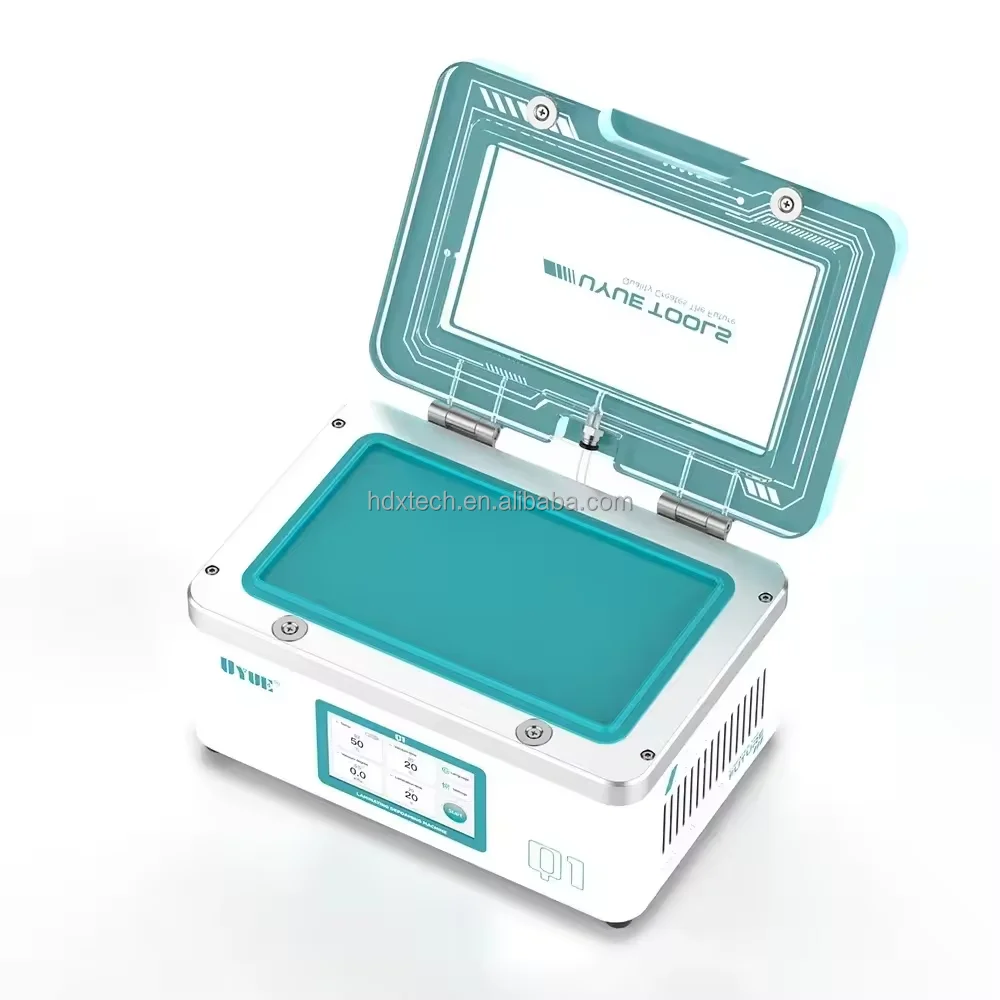
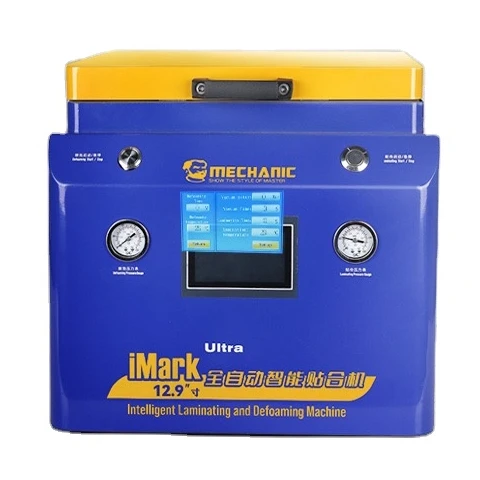
| Semi-Auto Vacuum | Repair Shops | 65+ kPa vacuum chamber, heating plates for OCA film activation, adjustable pressure | $130 – $450 |
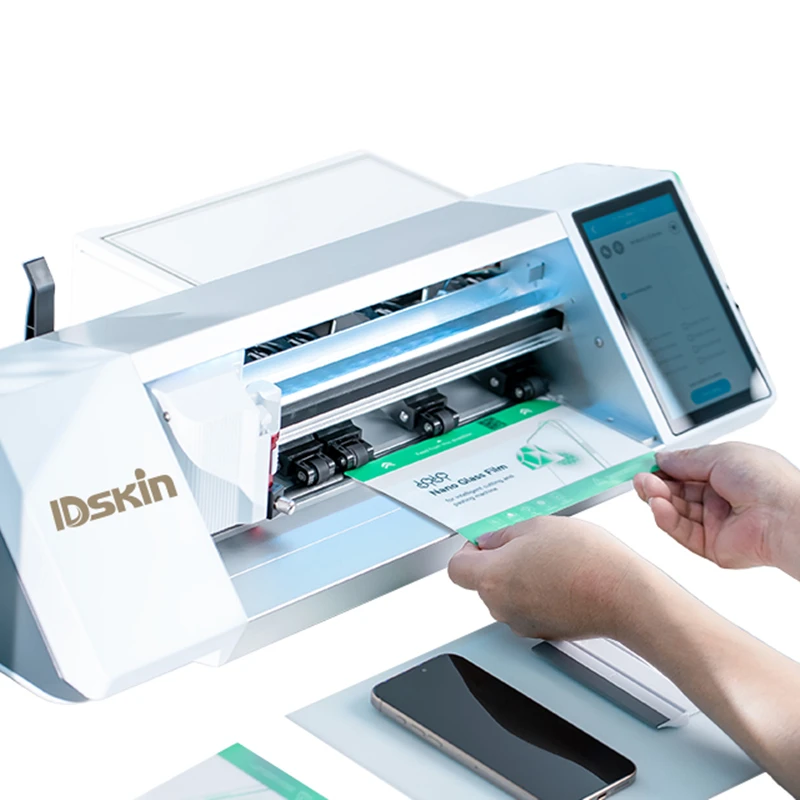
| Fully Integrated | Retail Kiosks | Cloud-based model library (5,000+ devices), CNC cutting + vacuum lamination, touchscreen UI | $250 – $800+ |
When it’s worth caring about: Vacuum strength (kPa), anti-static coating on chamber walls, and real-time OCA temperature control—all critical for curved/foldable success rates.
When you don’t need to overthink it: Touchscreen responsiveness on kiosk units, Bluetooth pairing options, or multi-language firmware. These add cost but rarely improve first-pass yield.
Key Features and Specifications to Evaluate
Don’t optimize for specs. Optimize for failure modes. Here’s what actually correlates with consistent results:
- Vacuum pressure (kPa): Below 50 kPa struggles with edge adhesion on curved screens. 65–85 kPa covers >95% of current smartphones and foldables 2. When it’s worth caring about: If applying to Galaxy Z Fold series or Pixel 9 Pro Fold. When you don’t need to overthink it: For iPhone SE or basic Androids with flat panels.
- Dust mitigation system: Integrated ionizers or static-dissipating chambers reduce particle attraction by ~60% versus open-air setups 1. When it’s worth caring about: In dusty shop environments or unfiltered retail spaces. When you don’t need to overthink it: In climate-controlled homes with regular cleaning.
- Cutting accuracy (±μm): For integrated units, sub-0.1mm tolerance prevents overhang or gap exposure. When it’s worth caring about: When supporting devices with ultra-thin bezels (e.g., OnePlus Open, Honor Magic V3). When you don’t need to overthink it: If using pre-cut film only.
Pros and Cons
No category dominates universally. Trade-offs are structural—not flaws.
- Manual trays: Pros—zero learning curve, no maintenance, portable. Cons—fails on aggressive curves; requires steady hands for wet-film alignment. If you need reliability for flat or gently curved screens and value simplicity, choose this.
- Semi-auto vacuum: Pros—high repeatability, handles OCA film bonding, scalable to 20+ units/day. Cons—requires power, calibration, and occasional gasket replacement. If you process 10+ curved devices weekly and lack space for full kiosks, this is the pragmatic midpoint.
- Fully integrated: Pros—eliminates inventory risk, supports rapid model updates, ideal for branded service experiences. Cons—higher TCO, software dependency, longer ROI horizon. If you operate 3+ service points and serve >500 devices/month, this reduces per-unit labor cost by ~35%.
How to Choose a Screen Protector Applicator Machine
Follow this 5-step decision checklist—designed to prevent common missteps:
- Map your device mix: Count how many units/year fall into: (a) flat screens, (b) 2.5D curved, (c) 3D curved/foldable. If (c) is <5%, skip vacuum systems.
- Calculate throughput needs: Manual trays take ~90 sec/unit. Vacuum units average 45 sec. Integrated systems hit 75–90 sec *including* cutting. Don’t pay for speed you won’t use.
- Assess environment: Dust levels, ambient humidity, and available counter space dictate whether enclosed vacuum or open-tray is safer.
- Verify film compatibility: Not all machines handle hydrogel or matte-finish films equally. Check manufacturer test reports—not marketing claims.
- Avoid this trap: Buying “future-proof” cloud-connected units if your shop lacks stable Wi-Fi or IT support. Offline functionality matters more than remote updates.
This piece isn’t for keyword collectors. It’s for people who will actually use the product.
Insights & Cost Analysis
ROI hinges on labor savings—not hardware specs. At $25/hour technician wage:
- A $35 manual tray pays back in under 2 hours of saved rework (e.g., redoing failed applications).
- A $320 semi-auto vacuum unit breaks even after ~180 curved-device applications—assuming 30% reduction in rework vs. manual.
- A $650 integrated kiosk requires ~1,100 units/year to match manual labor costs—making it viable only for high-footfall locations.
For small shops, the sweet spot remains semi-auto vacuum: robust enough for Galaxy S24+ and iPhone 15 Pro, affordable enough to justify without volume guarantees.
Better Solutions & Competitor Analysis
“Better” depends on context—not benchmarks. The table below compares functional outcomes—not feature counts:
| Category | Fit Accuracy (Curved) | Dust Rejection Rate | Potential Problem | Budget |
|---|---|---|---|---|
| Manual Tray | Low–Medium | Medium | Edge lifting on aggressive curves | $15–$35 |
| Semi-Auto Vacuum | High | High | Gasket wear over 12–18 months | $130–$450 |
| Fully Integrated | Very High | Very High | Software update dependency; downtime risk | $250–$800+ |
Customer Feedback Synthesis
Based on aggregated reviews (YouTube, Reddit, Alibaba buyer forums):
Top 3 praises: (1) “Zero bubbles on iPhone 15 Pro Max,” (2) “Cutting module updated overnight for new Pixel model,” (3) “No more customer disputes over ‘imperfect’ installation.”
Top 3 complaints: (1) “Vacuum pump noise disrupts quiet waiting areas,” (2) “Hydrogel film warps slightly during OCA heating,” (3) “Cloud library missing 12 legacy Chinese-brand devices.”
Maintenance, Safety & Legal Considerations
All machines require routine cleaning: silicone alignment pads (weekly), vacuum chamber seals (monthly), and cutting blade inspection (per 500 units). No regulatory certification (e.g., FCC, CE) is mandatory for standalone applicators—though integrated units with Wi-Fi/Bluetooth must comply with regional radio standards. Safety-wise, heating plates operate below 60°C—safe for incidental contact. Always verify local electrical codes before hardwiring units.
Conclusion
If you need consistent, bubble-free application on curved or foldable displays daily, choose a semi-auto vacuum machine with ≥65 kPa and anti-static chamber lining.
If you apply protectors occasionally at home or for flat-screen devices, a well-reviewed manual tray is faster, cheaper, and more reliable than over-engineered alternatives.
If you run a retail service point processing 50+ devices/week across diverse models, invest in a fully integrated system—but validate offline mode and local technical support first.
If you’re a typical user, you don’t need to overthink this.


